Drilling a straight hole through a post can feel tricky, but you can do it cleanly with the right setup and a calm hand. If you mark the spot well, clamp the post tight, and start with a small pilot hole, you give the bit a much better path. Then you just need to keep the drill square, ease up near the exit, and watch both sides closely. A few smart moves here can save you from a crooked hole and a lot of regret.
Choose the Right Drill and Bit
Start with the right drill and bit, because this one choice can make the whole job feel calm instead of frustrating.
You’ll want a drill that feels steady in your hands, not one that twists like it’s got plans of its own. A cordless model gives you easy movement around a post, and its cordless advantages really help when you’re working outside or in a tight spot.
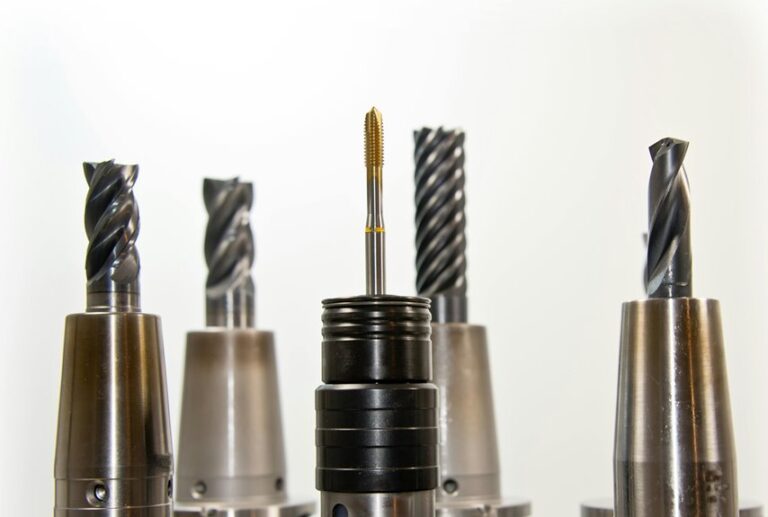
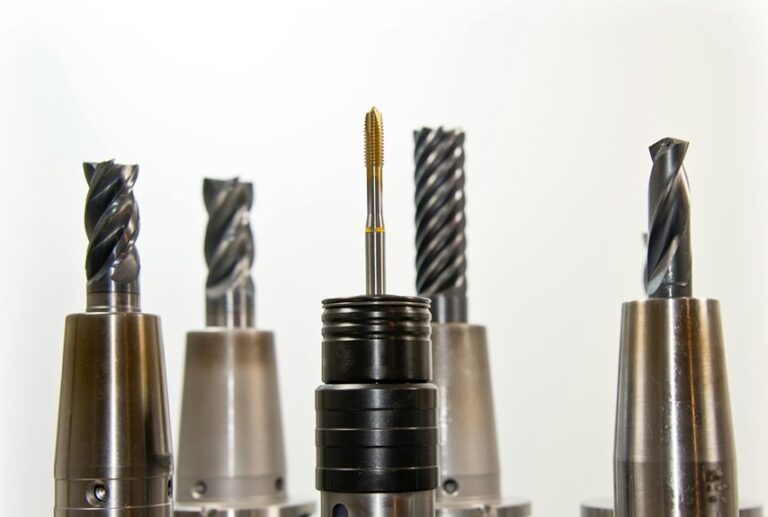
For the bit, pick one made for wood posts, like a brad point or spur-tip style, so it starts cleanly and stays put. Keep your bit maintenance simple: check for dull edges, clear sap, and replace worn bits before they wander.
When you match the tool to the wood, you set yourself up for a straighter hole and a lot less stress.
Mark the Hole Location
The easiest way to keep a hole straight is to nail down the mark before you drill a single inch. You’re part of a smarter crew when you take a minute to measure from the edge, then strike a crisp line across the face. That line gives you a visual reference, so your bit doesn’t wander when the pressure starts.
Next, add shadow marking on the opposite side of the post. When light hits it, the mark shows up fast and helps you match both faces. Use a sharp pencil or knife point, and make the spot easy to see. If the wood is dark, circle it twice. A clear mark saves you stress, keeps your work cleaner, and makes the next step feel way less nerve-racking.
Clamp the Post Securely
With the marks in place, clamp the post so it can’t twist, rock, or slide while you drill. Use two sturdy clamps, one near each side of the mark, and tighten them until the wood feels locked in. If the post is tall or awkward, add safety straps so it stays steady and you stay confident. Put scrap wood between the clamp jaws and the post so you don’t bruise the surface. Also, set the post on a solid bench or sawhorses with vibration damping pads under it. That little cushion helps keep the bit steady and your hands calmer.
Before you start, give the post a firm shake. If it moves at all, tighten again. You want the setup to feel like one team, because a secure post makes the whole job safer and cleaner.
Start With a Pilot Hole
You’ll get a straighter hole when you start with a small pilot hole, because it helps the larger bit stay on track. Pick a pilot hole size that matches the job, and keep your drill guide lined up so the bit doesn’t wander.
That little first hole may seem modest, but it can save you from a stubborn, crooked mess later.
Pilot Hole Size
Start small and let the bit do the work. You want a pilot hole that gives the larger bit room to track without fighting the wood. Use a bit that matches your screw or drill path closely, but stay a touch smaller so the fibers hold it steady. That balance matters because bit tolerance and material compatibility change how cleanly the bit starts and how well it stays true.
- Pick a pilot size that centers the tip.
- Match it to the wood’s density.
- Keep the hole straight and smooth.
- Let the next bit follow easily.
If you’re working with hardwood, go a bit wider than you’d in softwood. Then you’ll feel the drill settle in, and that’s a good sign.
Drill Guide Alignment
Set the guide in place, and let a small pilot hole do the first bit of work for you. You’re not forcing the bit here; you’re helping it find its path. Keep the guide flat, then check visual alignment from two angles so the hole starts true. If you use laser guides, line them up with your mark before you drill.
Next, press the bit into the pilot hole and hold steady with gentle pressure. That little opening keeps the bit from skating and makes the rest feel calmer. Then drill slowly at first, because speed can wait. If the guide shifts, stop and reset it. A clean start gives you the confidence to keep going straight, and you’ll feel that support right away.
Keep the Drill Aligned
Keeping the drill aligned takes more than steady hands, because even a small tilt can throw the hole off line as the bit bites into the wood. You can stay on track by watching the mark and feeling the bit settle. Trust your visual feedback and tactile cues together.
- Stand square to the post so your eyes can judge the shaft.
- Start slow and let the bit find its path before you add pressure.
- Keep both hands firm, but don’t clamp down so hard that you lose control.
- If the bit starts to drift, stop, reset, and realign right away.
When you work this way, you join a simple habit that helps the whole cut stay true.
Use a Drill Guide for Straight Holes
A drill guide can take a lot of guesswork out of making a straight hole, especially when you need clean, accurate entry points.
When you choose the right guide, you give your bit a steady path, and that makes the whole job feel less stressful.
Next, you’ll want to line up the guide carefully so the bit starts exactly where it should.
Choosing A Drill Guide
When you want a straight hole through a post, the right drill guide can make the job feel a lot less nerve-racking. You want a guide that matches your bit and post, so check material compatibility before you buy. A snug fit helps you drill with confidence, and it keeps you in the crew of people who like clean results.
- Choose portable jigs when you move from one post to another.
- Pick a guide with hard edges that won’t chew up fast.
- Make sure the opening suits your bit size and wood type.
- Favor sturdy models that stay square in your hand.
When a guide feels solid, you can trust your setup and work without second-guessing every move.
Aligning The Guide
Before you drill, line up the guide with care, because a tiny twist at the start can send the whole hole off track. Set the guide flat on the post, then check that its face sits square to the mark. You’ll feel more confident when the edges match cleanly and the bit has a true path.
If the guide has painted sides, keep the factory edge down for better guide aesthetics and less slip. Watch the corners too, since corner wear can nudge your angle over time. Rotate to a fresh corner when one softens.
Then hold steady, breathe, and let the drill start slow. That simple pause helps you stay connected to the layout and keeps your hole straight.
Drill Through Without Tear-Out
Tear-out can turn a clean hole into a ragged mess, but you can avoid that with a few careful moves. You’re not alone here; every good hole starts with support at the exit side and steady tear out prevention.
- Clamp a scrap board tight behind the post for edge backing.
- Drill halfway from one side, then flip the post.
- Keep the bit sharp and let it cut, not pry.
- Ease up on pressure as the bit breaks through.
When you finish from the far side, the fibers support each other instead of splintering. That small pause at the end saves you from a messy exit and keeps the hole looking clean.
Fix a Hole That Drifts Off Center
If your hole starts to drift, stop and check how far it’s off center before you make it worse.
You can often save the job by using a pilot guide that helps the bit track back on line. A small correction now beats a crooked hole that keeps nagging you later.
Assess Hole Drift
When a hole starts to drift off center, you can still save the job, and that’s a relief when the post already has a mark in place.
First, watch for visual deviation as the bit leaves the line.
Then, check for material movement if the wood shifts under pressure.
You’re not alone here; this happens to careful people too.
- Stop and look at the bit path.
- Compare the entry point with your mark.
- Note how far the hole has moved.
- Decide if the drift is small or growing.
If the error is light, you can keep your calm and keep evaluating.
A steady read now helps you stay in control and protect the layout you’ve already built.
Correct With Pilot Guide
A small drift doesn’t have to ruin your hole, and a pilot guide can pull you back on track with far less stress than you might expect.
First, clean the opening so the guide sits flat, then check material compatibility so the sleeve matches your post and bit.
Hold the guide tight against the surface, line its center with the hole path, and start the bit slowly. Let the guide steady the tip while you keep light pressure.
If the hole wanders, stop, reset, and nudge the guide before cutting deeper.
Good guide maintenance matters too, because a worn edge can steer you wrong.
With a fresh, square guide, you stay in control, and the hole feels less like a battle and more like a team effort.
Enlarge the Hole Without Wandering
To enlarge a hole without letting the bit wander, start by using the hole you already made as a guide and keep the drill steady from the first touch. You’re not forcing it; you’re helping it follow the path your first pass set. That steady feel builds confidence fast.
- Use incremental reaming with a sharp bit so each pass removes a little wood.
- Keep light pressure on the tool for better bit wobble mitigation.
- Match the bit size to the next step instead of jumping too far.
- Let the pilot opening center the bit before you lean into the cut.
If the bit starts to drift, back out and reset. That small pause keeps you in control, and it helps your work stay clean, calm, and right on line.
Prevent Splintering at the Exit
Splintering at the exit can ruin an otherwise clean hole, but you can stop it with a few careful moves before the bit breaks through. Hold a backer board tight behind the post so the fibers support each other. Add adhesive tape over the exit mark, and press it down well. Then slow your feed as the bit nears the back side, so the wood lifts less. You’re not alone in this step; every careful maker uses the same quiet trick.
| Step | What to do | Why it helps |
|---|---|---|
| 1 | Clamp the backer board | Supports wood fibers |
| 2 | Apply adhesive tape | Reduces tearout |
| 3 | Ease up near exit | Limits breakout |
| 4 | Keep the bit sharp | Cuts cleaner |
| 5 | Let the bit clear slowly | Protects edges |
Inspect the Hole and Finish Up
Once the bit has broken through cleanly, inspect the hole before you call the job done. A quick visual inspection helps you spot tear-out, burn marks, or a drift that needs a touch-up.
Then you can make the hole feel ready for the next step with calm confidence.
- Look through the hole from both sides.
- Feel for rough edges with your fingertip.
- Sand any fuzz for clean surface finishing.
- Clear chips so the fit stays true.
If the edge looks chipped, lightly sand it and check again. That small pause saves trouble later and keeps your work looking sharp.
You’re part of a crew that values clean work, and this final check helps your post look solid, neat, and ready to use.
Frequently Asked Questions
How Do I Drill From Both Sides so the Holes Meet?
Drill halfway from one side, then turn the post and finish from the opposite side. Center punch both marks first, then sight along the bit before drilling so the holes meet cleanly.
What Drill Bits Work Best for Minimizing Wander in Wood Posts?
You’ll get the least wander with spur tip spade or paddle bits, and brad point bits can help as well. Augmented reamers are not ideal for this job. Choose sharp bits for your wood posts, and you’ll get cleaner starts and more accurate holes.
How Can a Spotter Help Keep the Bit Centered?
Your spotter watches the far target, calls out small angle corrections, and gives steady feedback on your grip and posture so you can keep the bit lined up and centered while drilling.
How Should I Orient a Steel Tube Guide for Angled Holes?
Angle the steel tube guide to 45 degrees for angled holes, lining it up with your marks. Sight along the edge, confirm the marks on both sides, and drill with the tube held steady.
How Do I Know When to Switch to the Opposite Side?
Switch when the bit reaches the midpoint or your marked depth, and the opposite mark lines up visually. Then drill from the other side to meet in the middle.