Drilling glass can feel nerve-wracking, but you can do it cleanly when you use the right bit, steady water, and a light touch. If you rush or press too hard, the glass may chip or crack, yet a few simple steps can help you stay in control. Before you start, you’ll want to know how to mark the spot, secure the pane, and keep the bit cool, because those small details decide whether the hole comes out neat or ends in a very expensive mistake.
What Tools Do You Need to Drill Through Glass?
Start with the right tools, because glass doesn’t forgive guesswork. You need safety goggles, snug gloves, and a flat surface that won’t wobble under pressure. Set the glass on plywood with rubber padding, then add wood strips around the edges so it stays put. Good workspace lighting helps you see your mark and keeps your hands steady. Keep a safety checklist nearby so you don’t skip anything when you’re keen to begin. Next, use a variable-speed drill with a perpendicular grip, because control matters more than force. A low-speed setting lets you ease in without panic or cracking. Water, tape, and a marker also help you stay calm and accurate. With these tools, you’re not improvising; you’re drilling with confidence together.
Choose the Right Glass Drill Bit
Now that your workspace is set and your drill is ready, the bit you choose will make or break the job.
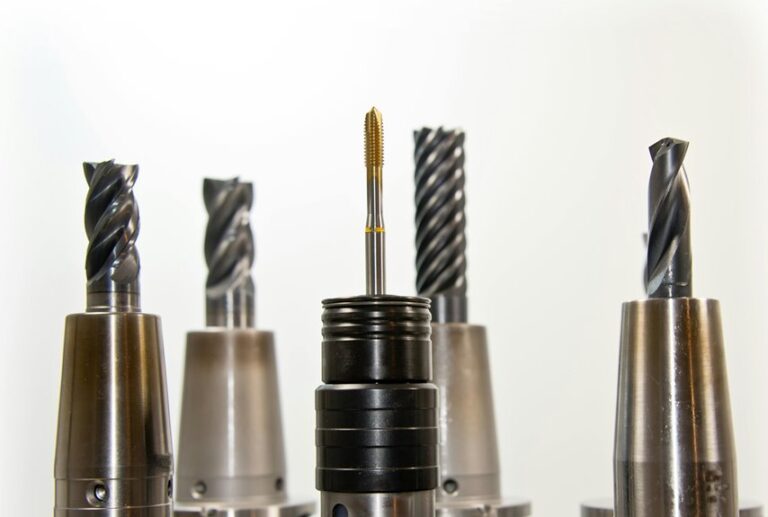
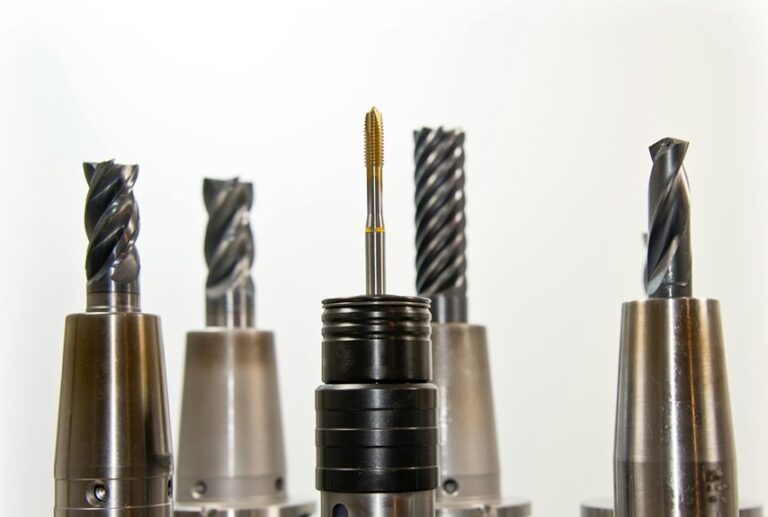
For glass, reach for diamond bits when you want the cleanest cut and the least chatter. They grind slowly, so you stay in control and keep stress low.
If you’re working on softer, thinner pieces, carbide bits can also do the job, but they wear faster and need a gentler touch.
Match the bit to your glass type and hole size, because a poor match can lead to chips fast. Also, use a bit made for drilling, not wood or metal.
That small choice helps you feel prepared, capable, and part of the group that gets smooth results.
Mark the Drill Spot Without Slipping
A clear drill mark gives you a calm, steady start, and that matters a lot when you’re working with glass. Clean the spot first, then press an adhesive template or a small tape X where the hole should go. If you use a glass standoff as a guide, hold it firmly so it can’t skate across the surface.
You want the mark centered, sharp, and easy to see, because a fuzzy dot can send your bit wandering. Lightly trace the point with a fine marker, then check it from above so it lines up with your plan. This small pause helps you feel in control, and that steady feeling really does carry into the drill step.
Secure the Glass Before Drilling
With the glass resting on a flat, stable surface, you can keep it from flexing while you drill. Add a plywood base with rubber padding, and the pressure spreads out instead of hitting one weak spot. If you need clamping alternatives, use wood strips around the edges so the sheet stays put without tight jaws.
Before you start, run through a safety checklist: goggles on, gloves on, and the area clear of clutter. You’ll feel more confident when the glass can’t shift under your hand, because that steady base gives you control. If the piece still wiggles, stop and reset it. A calm setup helps you work like part of a careful crew, and that sense of support makes the job less stressful.
Keep the Bit Cool With Water
A small stream of water can make a big difference when you drill glass. It cools the bit, washes away fine dust, and helps keep heat from building up fast.
If the bit starts to look hot or the water dries up, add more right away so you can keep the glass calm and steady.
Water Drip Method
To keep a glass bit cool, set up a simple water drip before you start drilling.
You can hang a small bottle or use a sponge so a steady cooling drip lands on the bit.
Aim for a thin stream, not a flood, because you only need enough water to carry away grit and calm heat.
Watch the water droplet on the contact point; if it dries fast, add more.
Keep the glass flat and steady, then let the bit turn gently under light pressure.
This setup helps you stay in control and feel less nervous, since the bit works smoother and the glass stays happier too.
If the drip shifts, pause, fix it, and continue with patience.
Prevent Overheating
Heat is the enemy here, and you can beat it with steady water and a calm hand. You keep the bit cool by dripping water right at the contact point, not off to the side. That small stream cuts friction, clears glass dust, and helps stop thermal expansion from cracking your piece.
Check the surface often, because a warm spot can turn risky fast. If the drill starts squealing or smoking, pause, add more water, and let the glass rest.
You’ll also do better when ambient temperature stays mild, since hot rooms raise stress. Keep your pace slow, stay patient, and trust the process. When you and your tools stay cool, the hole forms cleaner and the glass feels a lot less moody.
Drill Through Glass at a Slow Speed
Keep your drill at a slow speed, because that steady pace gives you the control glass needs. You’re joining a careful craft, not racing one. Slow drill motorization helps the bit stay cool, and that matters because glass annealing can’t protect you from sudden heat spikes.
- Start with the lowest setting.
- Let the bit turn smoothly, not wildly.
- Keep the angle steady so the hole stays clean.
- Pause if the glass feels warm.
When you move slowly, you give the bit time to cut without shocking the surface. That calm rhythm also helps you feel more confident, like you belong with people who know patience wins here. A gentle pace keeps the work controlled and the glass far less likely to crack.
Use Light, Steady Pressure
Light, steady pressure does the real work when you drill through glass, because the drill bit should cut on its own instead of being forced.
You only need a gentle fingertip feel, not a push that makes the glass tense up. Let the drill’s weight stay in contact, and keep your hands calm and level.
If you press hard, you’re more likely to shake the bit or slip out of line. Instead, breathe steady and let each small move stay controlled.
That easy rhythm helps you feel in sync with the glass, like you’re working with it, not against it. When the bit starts to bite, keep the same touch and trust the process. The smoother you stay, the better your hole will feel.
Prevent Cracks Around the Hole
First, mark the exact spot where you want the hole so the bit starts cleanly and doesn’t wander.
Then add proper lubrication, like a little water, to keep heat down and help stop tiny cracks from spreading.
Keep your drill at a low speed so you stay in control and give the glass a much better chance of staying intact.
Mark Hole Location
A small mark can save a whole pane. You want your hole to feel calm, not risky, and that starts with clear placement. Use safety signage nearby so everyone knows the glass is set for drilling, then check visual alignment from several angles.
- Clean the spot so tape grips well.
- Place a small X where the bit should start.
- Compare the mark with edges, clamps, and your plan.
- Step back and confirm it looks right before you touch the drill.
When you mark with care, you give yourself room to breathe and work like part of a steady crew. That little check keeps the bit where you expect it and helps the glass stay confident, not stressed.
Use Proper Lubrication
Water is your quiet helper here, because it keeps the drill bit cool and helps the hole stay clean as you work.
You can use plain water, a spray bottle, or a small drip from a sponge, and each one fits different lubrication types.
The goal is simple: keep a thin film on the glass so heat and grit don’t build up around the edge.
If you prefer a shop-safe coolant, choose one made for glass and read the label for environmental impact, since some mixes drain better than others.
Reapply often, especially when the surface starts to sound dry.
With steady wetting, you protect the edge, reduce tiny chips, and feel more confident with every careful turn.
Drill At Low Speed
Keep your drill slow and steady, because speed is what turns a careful job into a cracked sheet in a hurry. You’re not behind if you go gentle; you’re smart. Low speed cuts heat, so thermal expansion stays small and the glass can relax instead of split. It also adds vibration damping, which helps you feel more in control.
- Start at the lowest setting.
- Let the bit’s weight do the work.
- Keep light, even pressure.
- Pause if you hear chatter or feel warmth.
When you stay patient, you join the crew that gets clean holes without drama. A calm pace keeps the edge tidy and the hole round, so you can finish with confidence and a little pride.
Finish the Hole Cleanly
As you near the end of the drill, ease up and let the bit do the rest. You want the hole to open without a chip, so keep the drill steady and your touch light. That calm finish helps your piece stay in the circle. Your group can use this quick guide:
| Move | Result |
|---|---|
| Slow pressure | Less chipping |
| Small water pause | Cooler glass |
| Clean bit path | Smoother edge |
| Gentle exit | Fewer cracks |
| Light touch | Better fit |
If the rim feels rough, give it edge dressing or ornamental bevelling so it looks finished and feels safe in your hand. Then stop, lift straight out, and stay patient. You’re not just drilling glass. You’re shaping a clean result with care.
Clean and Inspect the Glass
Now that the hole is through, your job shifts to cleanup and close checking. You’re almost done, and this last pass helps your glass look cared for, not rushed. Wipe away slurry with a damp microfiber cloth, then dry the area so you can see every edge clearly.
Do a careful surface inspection under bright light for chips, hairline cracks, or leftover grit. Then check the hole’s rim and the glass around it for smoothness and steady fit.
- Rinse away fine dust.
- Inspect both sides for damage.
- Feel for sharp spots with care.
- Confirm optical clarity stays strong.
If everything looks clean, you can feel proud of the finish. You’ve protected the piece, and that matters.
Fix Common Glass Drilling Mistakes
If your glass starts to chip, crack, or feel too hot, you can still save the project by correcting the problem early. Pause the drill, add water, and let the surface cool. If you pressed too hard, ease up and let the bit do the work.
When chips appear at the edge, use light edge repair with a fine abrasive after the hole is done. If the bit wanders, retape the mark and start again at low speed. You can also do quick stress testing on scrap glass first, so your hands learn the right pressure.
Keep the drill straight, stay patient, and check your setup often. Small fixes now help you stay calm and finish with a clean hole.
Drill Through Different Types of Glass
Different types of glass need different levels of care, so your first job is to match the method to the material. When you drill with the right approach, you join a group of careful makers who respect the surface and the tool.
- Annealed glass drills best with low speed, water, and light pressure.
- Stained glass can be thin and fragile, so support it on plywood first.
- Tempered challenges mean you shouldn’t drill finished tempered pieces at all.
- Laminated glass needs extra patience, because the layers can grab the bit.
Next, mark the spot, tape it, and keep the drill straight.
Then let the bit do the work.
If the glass feels hot, pause and cool it.
That way, you protect the piece and your confidence.
Frequently Asked Questions
Can I Drill Glass Without a Special Glass Drill Bit?
Not really. A diamond grit bit gives the cleanest result. Without one, the glass can crack or chip more easily. If you have to try, use a lubricant, keep the drill speed low, and apply very light pressure.
How Do I Drill Multiple Holes Without Cracking the Glass?
Drill each hole one at a time with a steady template, precise center marks, and light pressure. Keep the glass secure, use water to cool the bit, and stop often so one crack does not spread into the next.
What Should I Do if the Glass Starts to Squeal?
If the glass starts to squeal, stop immediately, add lubricant, and lighten your pressure. This helps reduce heat, protect the piece, and keep your technique steady.
Can I Drill Glass While It Is Already Installed?
Yes, you can, but you’ll need to stabilize the glass carefully, protect the frame, and drill through the window slowly with water and light pressure. Work patiently to avoid cracking the glass and damaging the installation.
How Long Should I Let the Glass Cool Between Drilling Attempts?
Let the glass cool until it is only slightly warm, usually 1 to 2 minutes; if it still feels hot, wait a bit longer. Letting it cool helps reduce cracking, then resume drilling with a slower speed and light pressure.