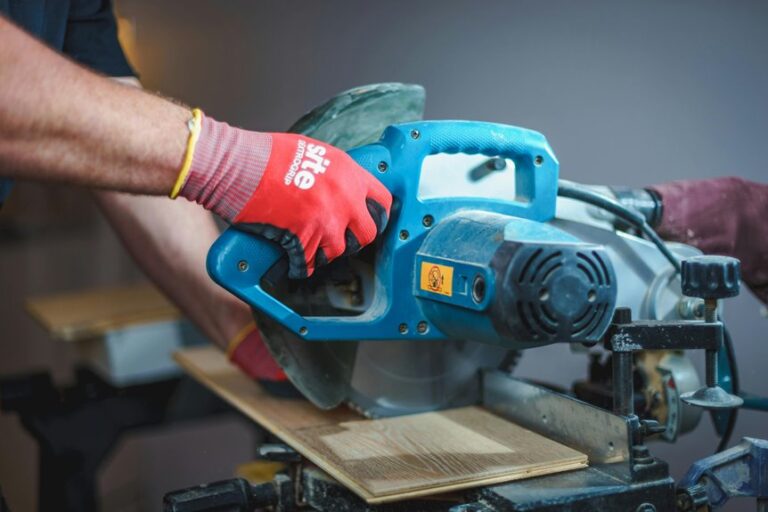
A table saw blade guard with dust collection can make your cuts feel calmer and cleaner because it sends chips away while shielding the blade area. You get better sight lines, less airborne dust, and a neater saw that works more smoothly. But the real difference comes from matching the guard, port, and hose the right way, since a poor fit can choke suction fast. If you’ve ever fought dust at the source, the setup details ahead may surprise you.
What Is Blade Guard Dust Collection?
Blade protection and dust control often work better together than people expect. When you use a blade guard with dust collection, you’re not just covering the cut line. You’re guiding chips and fine dust away from you as the saw works. That means your shop feels cleaner, and your lungs get less of the stuff you don’t want.
A good setup pulls debris into a dust filtration path, while the guard still helps keep the blade area contained. You also make your maintenance schedule easier, because less dust settles on moving parts. If you work with a compatible saw, this setup can fit right into your routine and help you feel more confident at the table.
Why It Improves Visibility And Safety
You can see your cut line more clearly when the guard controls the dust that would otherwise cloud your view.
That clearer view helps you guide the blade with more confidence and less guesswork.
It also cuts down airborne dust, so you’re breathing easier while you work.
Improved Cut Line Visibility
How does better blade guarding make your cut line easier to see? It trims visual clutter, so you can focus on the pencil mark and trust your line alignment. When the guard sits low and steady, it doesn’t crowd your view the way a bulky cover can. You stay in sync with the cut, and that calm feeling matters.
- You can track the mark without leaning in too far.
- You keep your hands in a safer, more natural spot.
- You feel less stress because the blade area looks cleaner.
That clearer view helps you guide the board with more confidence. As you work, your eyes and hands stay connected, and your cut follows the line with less second guessing.
Reduced Airborne Dust
Less dust in the air does more than keep the shop cleaner. You see your cut line more clearly, so you stay confident and in control. When your blade guard pulls dust away, fewer fine bits float up and hide the work.
That means you can watch the wood, the fence, and your hands with less strain. It also helps your lungs by lowering the need for extra respiratory protection during short jobs, though you should still suit up when the cut calls for it.
With better airborne particle monitoring, you can spot when your collection system needs help before the room gets hazy. As a result, you and your crew share a safer space, breathe easier, and keep the job moving without that gritty cloud hanging around.
How To Choose The Right Dust Port
When you choose a dust port, start with the size that matches your hose so you don’t fight loose fits or airflow leaks.
Then check whether the port can handle the airflow your dust collector creates, because a weak match can leave chips hanging around like unwanted guests.
Also, make sure the connection type works with your setup, whether you use a clamp-on hose, a quick-connect fitting, or another common style.
Port Size Compatibility
Port size matters more than many woodworkers expect, because the wrong connection can choke airflow and leave dust floating right where you don’t want it. You want a dust port that matches your hose snugly, so your blade guard can do its job without fuss.
If the opening is smaller, use port adapters or reducer fittings that step the size down cleanly. If it’s larger, don’t force the hose and hope for the best.
- Check the guard port before you buy anything.
- Match the hose size to the connector.
- Test the fit before your first cut.
When you get that match right, you join the group of woodworkers who keep the shop cleaner and the job less annoying.
Airflow Requirements
A strong dust port is only half the story, because the real job is moving enough air to keep fine sawdust out of your face and lungs. You want a port that matches your collector’s airflow needs, not just its opening. When airflow dynamics line up, the guard pulls dust away fast and keeps the blade area clearer.
If the port is too small, you’ll feel weak suction and more mess. If it’s too large, you can lose pressure balancing and still miss the light dust that floats. So check the guard’s design, your collector’s rated airflow, and how much resistance the setup adds. That way, you join a shop routine that feels safer, cleaner, and easier to trust every day.
Hose Connection Types
The hose you choose can make the whole guard feel easy or frustrating, so it’s worth getting right from the start. You want a dust port that matches your shop setup, so the connection feels solid and you stay focused on the cut.
- Pick hose fittings that match the guard opening and your main line.
- Use quick couplers if you switch tools and want less hassle.
- Check that the hose bends without pulling the guard sideways.
When the fit is snug, you get better dust capture and fewer leaks. If the port feels loose, add the right adapter instead of forcing it. That small step helps you feel like you belong in a shop that runs smoothly, because everything clicks into place and your saw works with you.
Best Blade Guard Dust Collection Options
Power up your shop safety with a blade guard that does more than block the blade. You’ll get the best results from a guard that grabs dust at the source and still lets you work with confidence.
SawStop’s TSG-DC stands out if you use a compatible saw, because it covers the blade, links to your dust system, and keeps the cut area clear. If you want a wider fit, a universal guard can travel to more saws and still help your shop stay cleaner. Look for magnetic mounts, transparent shrouds, and a low profile that won’t crowd narrow cuts. Then you can stay focused, breathe easier, and feel like your shop crew has your back.
How To Install It On Your Table Saw
Mounting your SawStop blade guard dust collection setup is easier when you treat it like a careful fit, not a rushed chore. You’ll feel right at home once you follow the installation steps in order and keep the mounting hardware close by.
First, unplug the saw and raise the blade. Then remove the insert, position the guard base, and secure it to the riving knife mount. After that, connect the dust port and check that the guard moves freely without rubbing.
- Tighten each fastener evenly
- Match the guard to your saw model
- Test the fit before you cut
With a calm setup, you join a shop crew that values safety, cleaner air, and smooth cuts.
How To Keep It Working Like New
Regular care keeps your SawStop blade guard dust collection system working smoothly, and it only takes a few small habits to make a big difference. Build a cleaning schedule so you wipe the guard, check the port, and clear packed dust before it hardens.
Next, inspect the hose for kinks, cracks, or loose fittings, because even a tiny leak can steal suction. You should also watch seal maintenance closely. If the seals look worn, replace them right away so dust stays where it belongs.
After each job, brush off buildup and test the slides so they move freely. Then, when you hear a rattle or see extra dust on the table, act fast. That quick attention helps your setup stay safe, steady, and ready for the next cut.
Frequently Asked Questions
Which Table Saw Models Are Compatible With Sawstop TSG-DC?
You’re compatible with SawStop ICS, PCS, CNS, and CB cast iron saws. That model list needs a 2.3 mm riving knife and TSI SLD insert, and you’ll join the SawStop compatibility group for safer, cleaner cutting.
Do I Need a Special Riving Knife for Installation?
Yes, you do need the 2.3 mm riving knife for installation, along with alignment checks and compatibility testing to make sure it fits your SawStop setup.
Can It Work With an Overarm Dust Collection System?
Yes, it can work with an overarm dust collection system, giving you effective overarm capture and improved airflow control. That means your setup stays coordinated while collecting more dust and supporting safer operation.
What Are the Dimensions and Weight of the Guard?
It measures 25 × 12 × 4 inches and weighs 6 lbs, making planning straightforward. With material options and mounting hardware included, installation is quick and secure.
Is There a Universal Alternative for Non-Sawstop Saws?
Yes, you can use a Penn State universal guard on non SawStop saws. You may need aftermarket adapters for compatibility, which can help keep your shop safer, cleaner, and more welcoming while protecting your crew.