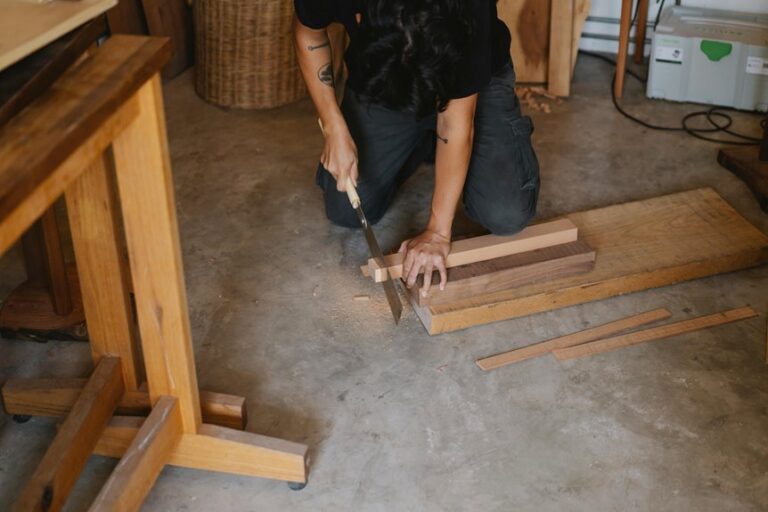
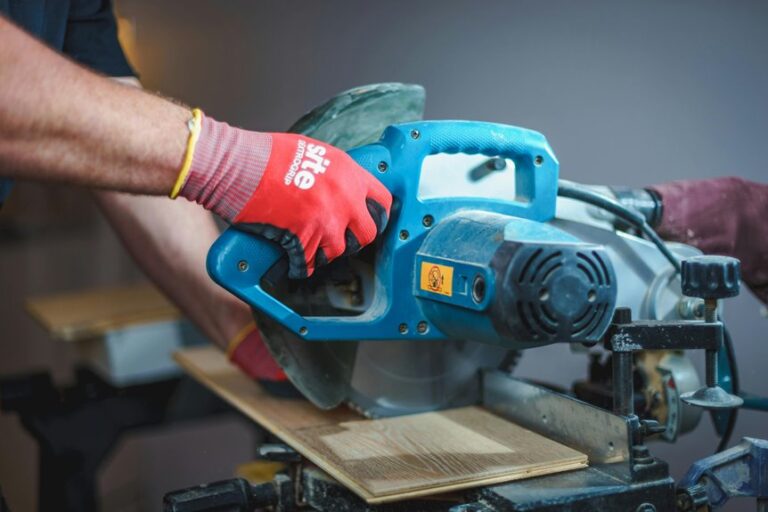
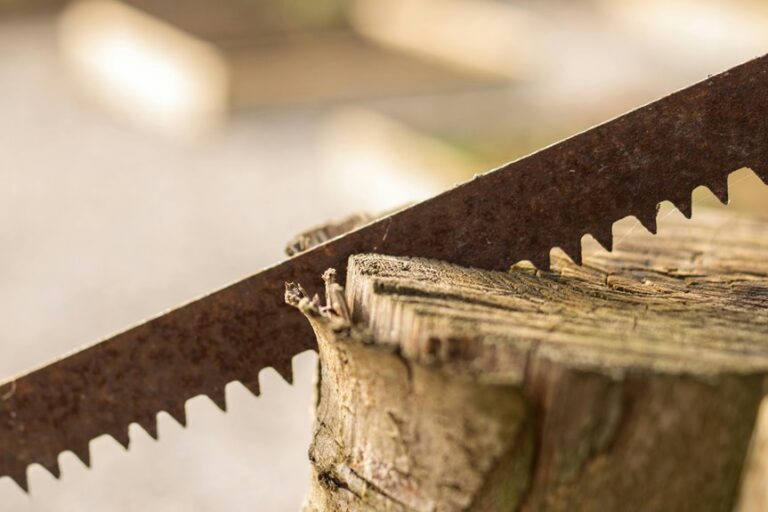
A long angled rip can turn a plain board into a precise fit, but only if you set it up with care. You’ll get cleaner results when you mark the angle clearly, lock in the saw, and support the wood so it doesn’t wander. From choosing the right tool to fixing tiny edge flaws, each step matters more than you’d think, and the trickiest part often comes right after the first cut.
How to Cut Wood Lengthwise at an Angle
When you need to cut wood lengthwise at an angle, the safest way is to turn a tricky job into a controlled one. First, mark your line clearly, then use bevel templates or a sliding bevel to copy the angle across the board.
Next, clamp the wood firmly so it can’t wander. After that, guide your cut with a straightedge and take your time. If the edge feels rough, do light angle sanding to smooth it without changing the shape.
For long boards, check the line again before each pass. Small errors can grow fast, so stay patient and keep your hands clear. You’re not alone here; with steady setup and calm steps, you can make a clean, confident angled cut.
Choose the Best Saw for the Cut
The saw you choose can make this cut feel easy or messy, so match the tool to the job before you start.
A table saw gives you strong precision for straight bevel rips, while a circular saw gives you more control on long boards when you set up a solid guide.
If you need more flexibility for curved or awkward layouts, a band saw can help you stay on line with less fighting.
Table Saw Precision
For long angled cuts, a table saw usually gives you the cleanest and most controlled result, especially if you need repeatable bevel rips that stay true from end to end. You belong at this setup when accuracy matters.
Start with blade calibration, then check fence alignment so the board tracks perfectly. A tiny error can grow fast on a long rip, so test on scrap first and trust your eyes less than your measurements.
Next, lock in the angle before you feed the stock, and keep steady pressure against the fence. A featherboard helps hold the board flat, which gives you a smoother edge and a calmer cut.
If the piece feels awkward, slow down and reset. Good setup makes the whole cut feel safer and more natural.
Circular Saw Control
A table saw can handle long bevel rips with strong control, but a circular saw gives you more freedom when the board is too long, too wide, or too awkward to feed through a fixed blade. You stay in charge by clamping straight guides on both sides and setting the blade a touch deeper than the wood.
Keep the saw flat, then move at a steady pace so blade wobble stays low. Use firm grip pressure, not a death grip, because tense hands can push the cut off line. For shallow angles, make two or more light passes and let the saw do the work.
Secure the board well, check your line often, and you’ll feel the cut settle into place with much less stress.
Band Saw Flexibility
When you want to cut wood lengthwise at an angle, a band saw often feels like the calm middle ground. You get a steady blade, a smaller footprint, and room to steer long boards without forcing the cut. If you’ve ever fought a busy workshop setup, that ease can feel like a win for your whole crew.
You can use it well for resaw techniques, especially when you need gentle bevels or curved transitions. Still, you must watch blade drift, because the blade can pull off your line if you rush. Set your fence, mark your angle, and feed the board with light pressure. Then you’ll stay in control and keep the cut clean.
Mark the Angle and Cut Line
Start by marking the angle with care, because a clear layout makes the whole cut feel less stressful and a lot more accurate. You can use a marking gauge for the edge and a bevel transfer to carry the angle across the board. Then draw the cut line in one steady motion.
| Check | Why it helps |
|---|---|
| Measure twice | You catch small mistakes early |
| Mark from one edge | Your line stays true |
| Darken the line | You can see it fast |
| Extend the line | You guide the full cut |
Next, sight along the line and confirm it matches your plan. If the board is long, mark both faces so your path stays easy to follow. A neat line gives you confidence, and that calm feeling matters when you want a clean, shared win on the saw.
Secure the Board Before Cutting
Before you make the cut, clamp the board down so it can’t shift, twist, or creep away from the line. You want a setup that feels steady and calm, because shaky wood can turn a careful job into a frustrating one.
Check clamp placement near both ends, then add one in the middle if the board is long. Keep the workpiece elevation high enough for the blade to pass freely, but not so high that the board rocks. If you need space below the cut, support the offcut too.
Tighten everything, then press the board by hand to test for movement. When it stays put, you’ll work with more control and less stress. That little bit of prep helps you stay in the groove and cut with confidence.
Make the Cut With a Table Saw
Set the table saw for the exact bevel angle, then lock the fence and blade tilt so nothing slips mid-cut. You’re not just cutting wood; you’re joining a steady crew of makers who value clean results. Good bevel calibration keeps the rip true, and fence maintenance helps the board glide without drift.
- Check the blade against your angle mark before you start.
- Score the cut line lightly to help the edge stay crisp.
- Feed the board with calm pressure so the cut stays even.
Keep your hands clear and use a push stick if the strip gets narrow. When the saw stays tuned, you get a smooth angled edge that fits right in with the rest of your project, and that feels pretty great.
Use a Circular Saw for Long Cuts
A circular saw can make long lengthwise cuts feel much easier, especially when the board is too long for a table saw or too awkward to move.
You can guide it with two straight boards or a factory edge, and that helps you stay on your angle without fighting the tool.
Set the blade a little deeper than the wood, then lock the board down so it won’t shift.
A laser guide can boost your confidence on the first pass, and you can keep your line steady with calm pressure, not force.
Good dust management also helps you see the path and breathe easier, so clear the cut area before you start.
When you work this way, you feel more in control, and that matters.
Smooth and Clean the Cut Edge
Once the cut is done, the real polish begins. You can make the edge feel like part of the plan, not a rough accident.
Start with light sanding along the grain, then check for fuzz or high spots. For edge finishing, a sanding block helps you stay even and steady. If you see dark marks from the blade, do burn removal with a few gentle passes, not hard pressure.
- Wipe the edge clean before you sand.
- Move through finer grits for a smoother touch.
- Use a small plane if one spot feels proud.
When you take your time, the board looks cared for, and that matters. You’re not just fixing wood. You’re giving your project a clean, confident look that feels good in your hands and in your space.
Fix Common Angled Rip Cut Mistakes
Even a good angled rip can go sideways if the saw drifts, the board shifts, or the bevel is off by a hair, and that can feel frustrating after you’ve already cleaned up the edge.
First, stop and check the setup. If the cut wanders, clamp a straight guide and slow your feed so the blade tracks cleanly. If the board moves, tighten the workpiece and add a featherboard or extra support. When the angle looks wrong, reset the fence or bevel with a square before you cut again.
Next, inspect the edge for burn marks, chips, or twist from material expansion. Then trim only what you need so joint alignment stays true.
Small fixes now save you from a crooked fit later, and you’re not the only one who’s had to sneak up on perfection.
Frequently Asked Questions
What Wood Types Are Hardest to Cut Lengthwise at an Angle?
Dense hardwoods such as oak, maple, and hickory are the toughest to cut lengthwise at an angle, and knotty softwoods like pine can also resist the blade. Sharp blades and firm support help you get cleaner cuts.
How Do I Cut a Very Shallow Angle Accurately?
Clamp a straight guide beside the cut line and make several light passes to control a shallow bevel. Test on scrap and check the angle often so the cut stays clean and accurate.
Can I Cut Angled Rips Without Power Tools?
Yes. Use a hand plane or spokeshave to shave the board down little by little, checking your line as you go. Clamp the board securely and work slowly for a clean, accurate angle.
How Do I Prevent Burning During Long Angled Cuts?
Keep the blade sharp, maintain a steady feed rate, and use a cutting lubricant so the blade moves more easily. Make sure the kerf has enough clearance, reduce speed in dense grain, and let the saw clear chips to avoid scorching the wood.
What Blade Tooth Count Works Best for Angled Rip Cuts?
Angled rip cuts usually come out best with a 24 to 30 tooth rip blade. This range cuts quickly, stays cooler, and leaves a cleaner edge. Use more teeth for dense material and fewer teeth for rough lumber.