Drilling porcelain tile can feel nerve-wracking, especially when one small slip can leave a costly crack. You can avoid that by choosing the right bit, marking the spot with tape, and keeping your drill slow and steady from the start. Once you set up the tile well and control the pressure, the hole begins much more smoothly than you’d expect. The real difference often comes down to a few small details that most people miss.
Choose the Right Porcelain Tile Drill Bit
Start with the right bit, and the rest of the job gets a lot easier.
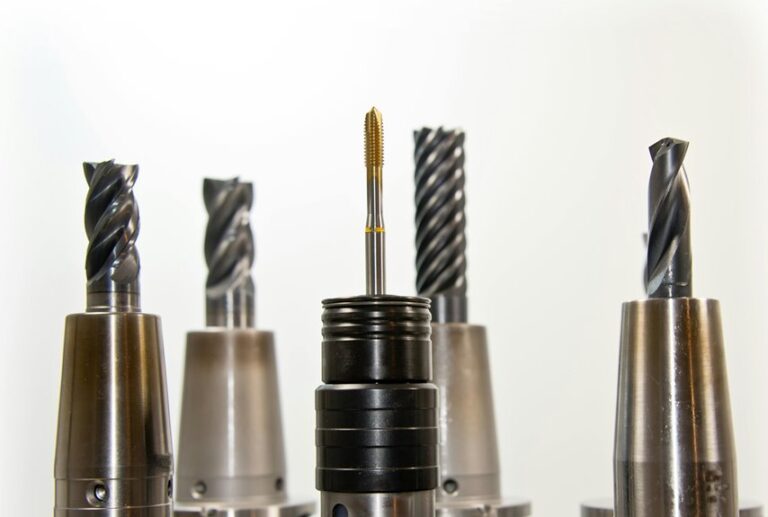
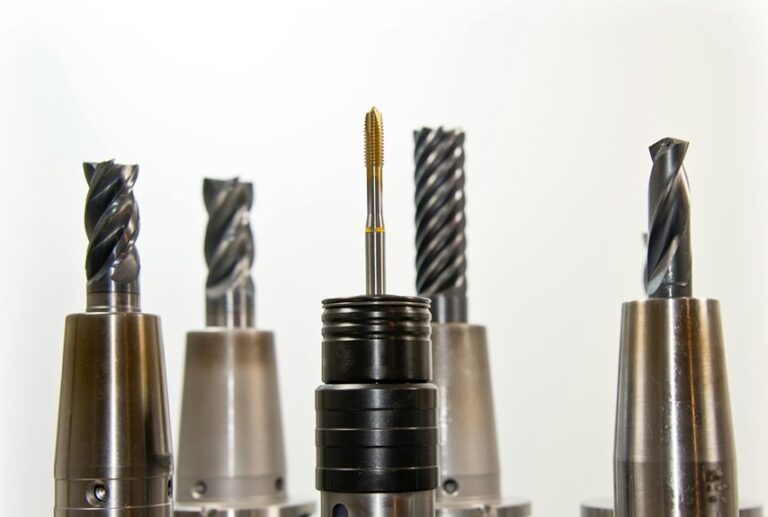
You’ll want a diamond-tipped porcelain bit for the cleanest cut, because it grinds through hard tile with less slip.
If you need a budget-friendly option, a carbide-tipped bit can work, but check the bit lifespan first.
Look for sharp edges, the right hole size, and coating types made for ceramic or stone.
A worn bit can wander, chatter, and stress the tile, so replace it before it turns stubborn.
When you match the bit to porcelain, you give yourself a smoother start and a safer path forward.
That small choice helps you feel ready, capable, and a lot less alone at the wall.
Gather Your Drilling Tools
You’ll want to gather the right drill bits first, because a diamond-tipped bit gives you the cleanest start on porcelain, while a carbide-tipped one can still get the job done.
Next, check that your drill is set to a low, adjustable speed and that the hammer setting is off so you don’t crack the tile.
Then put on safety gear like goggles and gloves, since a little prep now can save you a lot of stress later.
Choosing Proper Drill Bits
Choosing the right drill bit can save your porcelain tile from a painful crack and save you a lot of frustration too. You want a diamond-tipped bit for the cleanest cut, but carbide options and other diamond alternatives can work for smaller jobs. Pick a bit that matches your hole size, and check the edge before you start. A worn tip can wander and chip the glaze, so bit maintenance matters.
| Bit Type | Best Use |
|---|---|
| Diamond | Hard porcelain and smooth starts |
| Carbide | Light drilling and budget jobs |
| Tile-specific | Clean holes with less slip |
When you choose well, you join the crowd of DIYers who drill with confidence. Keep your bit in good shape, and let it do the work.
Preparing Safety Equipment
Before you drill into porcelain tile, gather the right safety gear and tools so the job feels calm, not chaotic.
Put on safety goggles, gloves, and respiratory protection so dust stays out of your eyes and lungs. Then set out your drill, the right tile bit, masking tape, a pencil, water, and a clean cloth.
Check that the drill works smoothly and that the bit fits snugly, because loose parts can shake your confidence and the tile. Keep everything within reach before you start, so you don’t have to stop mid-task.
That little setup helps you stay steady, focused, and part of the crew that gets it done right. When your gear is ready, you’ll drill with more control and a lot less stress.
Mark the Hole and Secure the Tile
Start by marking the exact spot and locking the tile in place so the drill has a fair shot at a clean hole. You want the mark to stay crisp, so add tape alignment over it and press it down with adhesive reinforcement if the tile feels loose.
That extra grip helps you feel in control, and you’re less likely to slip and spook the surface.
- Wipe the tile clean before you mark it.
- Measure twice, then place a clear pencil dot.
- Use masking tape to build traction at the spot.
- Check that the tile doesn’t shift when you touch it.
When the tile stays steady, you protect the glaze and give yourself a smoother start. It’s a small step, but it keeps the whole job feeling calm and doable.
Set the Right Speed and Pressure
Now that the tile is marked and held steady, you can focus on how the drill feels in your hands. Keep rpm control gentle, because porcelain rewards calm hands, not a rushed touch. Use variable pressure so the bit can bite without you forcing it. Think of it like joining a patient crew: you guide the tool, and it does the work.
| Feel | What You Want |
|---|---|
| Soft hum | Steady pace |
| Light grip | No wobble |
| Firm touch | No push |
| Smooth sound | Clean cutting |
| Cool bit | Less stress |
If the drill starts to chatter, ease up right away. Let the bit stay centered, and keep your pressure even. That balance helps you protect the tile and feel confident, even if this job makes your palms a little sweaty.
Start Drilling Slowly
Let the bit kiss the tile first with a slow, careful touch. You’re not forcing anything here; you’re inviting the cut to begin. That slow start helps you stay steady and keeps the surface from flinching.
- Hold the drill firm, then ease in at a low speed.
- Let the bit bite a tiny groove before you add more power.
- Keep your wrist calm so the hole stays true.
- Move into gradual acceleration only after the bit feels settled.
When you work this way, you join the crowd that drills with confidence, not panic. The tile answers better, and you feel more in control.
A patient rhythm gives you a cleaner path and a calmer job, which makes the whole project feel a lot less lonely.
Keep the Bit Cool and Dust Controlled
As you keep drilling, you need to cool the bit and clear the dust so the tile stays calm and the cut stays clean. You’re not fighting the tile alone; you’re guiding heat and grit at the same time. A quick mist of water cooling helps the bit stay sharp, while dust extraction keeps the surface from getting scratchy and dry.
| What you do | Why it helps |
|---|---|
| Lightly spray water | Lowers heat fast |
| Pause often | Gives the bit a break |
| Wipe dust away | Keeps the surface clear |
| Use dust extraction | Limits messy buildup |
| Watch the bit | Stops overheating early |
When you steady both jobs, you protect your work and feel more in control. That calm rhythm helps you belong in the process, not battle it.
Keep the Hole Clean and Crack-Free
Once the bit has made steady progress, your next job is to keep the hole neat so the tile stays strong and the edge doesn’t chip out. You’re almost there, and a calm finish helps a lot.
- Clear grit often with a soft brush or damp cloth.
- If water or dust paste builds up, stop and wipe it away.
- Lightly seal edges with a tiny bead of clear sealant if the hole will stay exposed.
- For cleanup between passes, try lubricant alternatives like a few drops of water, not thick oils.
Keep the drill straight while you finish, because wobble can rough up the rim.
Then let the bit spin down before you pull it free.
That small pause keeps the hole smooth and helps your tile look cared for, not hurried.
Reduce Chip-Out Around the Hole
Chip out the edges before they get the chance to spread. You can stop small flakes by keeping edge protection in place, like masking tape wrapped tight around the mark. That tape gives the bit a cleaner start and helps you feel steady, like you’re part of the crew.
Next, press gently and let the bit bite before you add more force. If you rush, the glaze pops.
For extra help, use grout cushioning from the surrounding joints by keeping the area clear and supported, so the tile doesn’t flex while you work. Also, keep the bit sharp, the drill steady, and the pressure light. A slow, calm start usually saves the rim, and that’s one less repair to worry about.
How to Drill Porcelain Tile With Backer Board
Set the porcelain tile on a firm backer board before you drill, because that extra support makes the job much calmer and safer. You’ll feel more in control, and the tile won’t flex under pressure.
- Check substrate compatibility so the tile, board, and fasteners work together.
- Confirm your waterproofing methods if the area sits in a shower or wet room.
- Mark the spot, tape it, and start with a diamond bit at low speed.
- Keep the drill steady, add light water, and watch ventilation requirements if you’re working in a tight space.
With backer board, you give the tile a stable base, so the bit can cut cleanly instead of wandering.
That support helps you drill with confidence, and it keeps the whole space feeling like a team effort.
Fix Small Chips or Surface Damage
Small chips and light surface marks can show up even when you’ve been careful, and that can feel frustrating after all that work. You’re not alone here, and chip repair can bring your tile back into the group look you wanted. Start by cleaning the spot, then press in a matching filler and smooth it with a putty knife. For glaze restoration, use a color-matched touch-up kit and wipe away extra material before it sets.
| Damage | Fix | Result |
|---|---|---|
| Tiny chip | Filler | Blends in |
| Scuff mark | Polish | Softer shine |
| Edge nick | Patch | Cleaner line |
Let it cure, then buff gently. If the mark is deep, repeat once. Keep your touch light, because porcelain likes calm hands.
Avoid Common Drilling Mistakes
When you drill porcelain tile, a few easy mistakes can turn a careful job into a cracked one fast, so it helps to slow down and set up with care.
You’re not alone if this feels tense; most people miss the same small steps. Use these checks to stay steady:
- Pick a diamond or carbide bit, not a plain one.
- Clean the tile and add masking tape for grip.
- Start at low speed with light pressure, then keep the drill straight.
- Skip the hammer setting, and use water to cool the spot.
Also, check edge reinforcement on any loose tile, and make preventative maintenance part of your routine before you drill.
That little habit saves stress and keeps the surface looking like it belongs there.
Frequently Asked Questions
Should I Use Water or a Spray Bottle While Drilling?
Yes, use water or a spray bottle. It cools the bit, cuts dust, and helps it move through the tile more smoothly, which reduces heat, wear, and the chance of cracking.
Can a Regular Drill Work on Porcelain Tile?
No, a regular drill bit alone is not enough. Use a diamond or carbide bit and keep the speed low. That will give you cleaner results and help protect the tile.
Is Masking Tape Necessary Before Drilling?
Yes, use masking tape. It helps the drill bit grip the tile surface and reduces slipping. Choose a tape with strong adhesion that sticks well to a clean tile surface.
Should I Disable the Hammer Setting on My Drill?
Yes, disable the hammer setting. It helps protect your tile from cracking. Keep the drill speed low, use a bit designed for tile, and let the bit cut gently.
What Angle Should I Start Drilling At?
Start at about 45 degrees to create a shallow pilot, then bring the drill to 90 degrees as you continue. This helps keep the bit from slipping and gives you steadier control while working with the tile crew.