If you’ve ever found the perfect drill bit the same day a bolt snaps, you know the timing can feel almost rude. Left-handed drill bits can turn that bad moment around by helping you back out broken or seized fasteners with less damage to the threads. You’ll want the right size, a steady hand, and the drill set to reverse, because the bit has to bite cleanly before the fastener gives up.
What Are Left Handed Drill Bits?
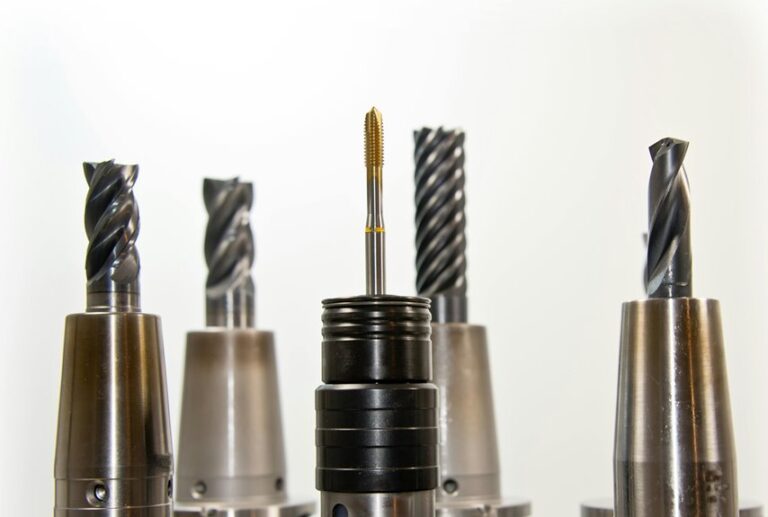
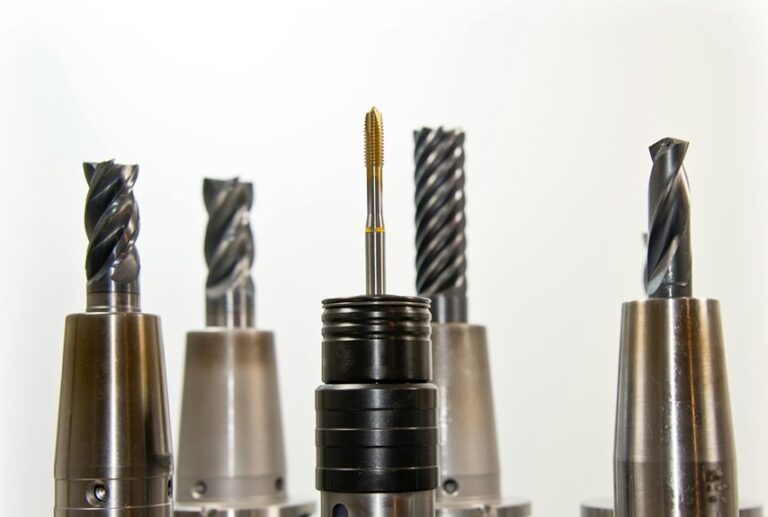
Left-handed drill bits flip the usual drilling motion on its head, because their spiral turns counterclockwise instead of clockwise. You use them when a reversible drill runs in reverse, and that’s where they fit the job.
In left handed history, makers refined the shape so the bit could stay steady under reverse spin. Through careful spiral metallurgy, they also improved edge strength and heat control.
These bits feel familiar once you hold one, yet they’re built for a different motion. You can find them in sets for common stud sizes, and each one usually runs a little smaller than a standard bit.
That small change helps you work with more confidence and less worry when a fastener won’t budge.
How Reverse Extraction Works
Reverse extraction works because the bit doesn’t just spin in the hole, it grabs onto the broken fastener and starts backing it out.
You feel the drill’s reverse mechanics at work as the flutes bite leftward instead of forcing the metal deeper. That action changes the torque dynamics, so the stuck piece loosens while you keep steady pressure.
As the bit cuts, it creates a tiny turning force that helps lift the fastener from the threads.
You’re not fighting the damage alone anymore. Instead, you’re using the bit’s motion to join your effort.
That’s why this method feels so useful when a bolt or screw won’t budge. It gives you control, reduces stress, and helps you stay in the game.
Choose the Right Left Handed Bit
You want the bit to match the fastener, so check the broken screw or stud size before you start.
Then choose a bit that’s slightly smaller than the fastener so it can bite without widening the hole.
For the best results, pick quality steel, and cobalt is a smart choice when the metal feels tough.
Match Bit To Fastener
Choose the bit size by matching it closely to the broken fastener, because that small detail can make the whole job go much smoother. You’re not guessing here; you’re teaming up with the metal. Check material compatibility first, since soft steel and hardened alloy ask for different bite. Then think about heat management, because a cooler bit keeps cutting clean and helps you stay in control.
| Fastener | Bit Type | Why It Fits |
|---|---|---|
| Soft bolt | Cobalt | Cuts steadily |
| Hardened stud | Cobalt | Handles tough metal |
| Rusted screw | Sharp left hand | Grips fast |
| Small sheared head | Tight match | Reduces wobble |
| Mixed hardware | Set selection | Gives options |
When you match the bit well, you protect threads and feel more confident.
Select Proper Size
Start by sizing the bit to the broken fastener, not just the hole around it, because that small fit can save the threads from extra damage. You want the bit to sit close, but not bind, so it can bite cleanly when you reverse the drill.
Do a quick size calibration by comparing the shank to the stud, then move in small steps if the match feels loose. A little fit testing helps you avoid chewing up the metal and keeps the pullout smoother.
If you’re unsure, choose the next smaller bit and test again. That careful move puts you in control and makes the job feel less like a fight and more like a win for your toolbox family.
Choose Quality Steel
A tough broken bolt can test your patience fast, so the steel in your left-handed bit matters more than it may seem at first. You want a bit that feels solid, cuts cleanly, and keeps its edge when the drill spins in reverse. High-grade steel, often with strong heat treatment, gives you that bite and helps the tip stay sharp under pressure.
If you work near moisture or oily grime, choose one with good corrosion resistance so it lasts through more jobs. You’ll notice better grip, less wandering, and fewer slips when the metal is made well. That matters because you’re not just drilling, you’re joining a crew of people who get stubborn fasteners out right. Choose trusted brands, and your toolbox will thank you.
Prepare the Broken Bolt
Clear the area around the broken bolt before you drill, because a clean setup makes the whole job safer and smoother.
You’re not just making space, you’re giving yourself room to work with confidence. Put on safety precautions, like eye protection and gloves, so tiny chips don’t turn into a bad day.
Then check lighting considerations. Good light helps you see the bolt edge, the threads, and any damage that could make the repair harder.
Next, wipe away rust, grease, and loose debris with a brush or rag. If the bolt sits deep, use a vacuum or compressed air to clear the spot.
When you prepare it well, you join a group of careful do-it-yourselfers who get better results and fewer surprises.
Drill in Reverse Without Slipping
Set the drill to reverse and keep a firm grip, because that steady hold is what keeps the bit from skating across the bolt head.
Brace your wrist, line up the tip, and let the tool start slow. When you use anti slip adapters, you add extra control, and rubber sleeves on the handle help you stay calm and steady. That matters when the fastener is stubborn and every small wobble can ruin your chance.
Press just hard enough to keep the bit seated, then let the reverse spin do the work. If the bit grabs, stay relaxed and guide it straight. You’re not fighting the bolt alone here. You’re using control, patience, and the right setup, so the drill bites cleanly instead of slipping away.
Use Cutting Oil for Cleaner Removal
Once the drill is steady and the bit stays planted, a little cutting oil can make the whole job feel far less brutal. You’re not just making things slick. You’re helping the bit shear metal cleanly, so the broken fastener comes out with less grit and less chatter.
Use cutting fluids sparingly, and let them reach the hole before heat builds. Good application timing matters, because oil works best when it can cool the edge early, not after the metal starts smoking like a tiny forge.
If the cut feels dry, pause and add another drop. That small step can keep the bit working with you, not against you, and it makes the whole extraction feel more controlled, more confident, and a lot less stressful for everyone involved.
Stop Before You Damage the Threads
You need to stop as soon as the bit starts to grip, because pushing too far can chew up the threads fast.
A slightly smaller left-handed bit helps you pull the broken fastener out while keeping the hole clean.
If you stay alert and drill with care, you give the threads a much better chance of surviving the repair.
Protect Thread Integrity
Precision matters here, because the goal isn’t just to remove the broken fastener, but to leave the threads in the hole healthy and ready to use again. You protect thread integrity when you choose a bit that fits snugly and stays centered. That small choice supports thread preservation and keeps the hole from chewing itself up.
Next, keep pressure light and let the bit do the work. If the fastener starts to move, ease off before the walls of the hole feel any scrape. You can also watch for coating options on the bit, since smoother finishes may cut cleaner in tight spaces.
When you work calmly, you stay in control, and the part in your hand still belongs in the job.
Drill Before Deep Damage
When the bit has already found center and the fastener starts to loosen, don’t keep pushing just to feel like you’re making progress. You’re protecting the threads, and that matters to the whole repair crew, including you. Stop, check the hole, and let the left-handed bit do its job.
| Checkpoint | Action |
|---|---|
| Bit bites | Ease off pressure |
| Fastener turns | Keep speed steady |
| Metal shavings thin | Pause and inspect |
| Threads look clean | Stop drilling |
| Need extra care | Use pre drilling techniques and temporary protective coatings |
This approach keeps the hole usable and saves you from a bigger headache later. If you feel the fastener move, trust that moment. A little restraint now helps your group win the repair, and it keeps you from turning a small fix into a messy surprise.
Remove a Bolt That Starts Turning
If a bolt starts turning but won’t come out, stop forcing it and switch to a left-handed drill bit before the threads get ruined. You’re not alone here, and this fix saves a lot of headaches.
First, check torque measurement so you know how loose the fastener really is. Then add grip enhancement with steady pressure, not a shaky hand. Set your drill to reverse and use a bit that’s slightly smaller than the bolt body. As the bit bites, keep the drill straight and let it work. If the bolt catches, it often backs out on its own.
A drop of oil can help, too. Stay calm, move slowly, and you’ll feel the fastener give way without wrecking the hole or losing patience.
Extract a Broken Screw
First, you need to assess the screw’s damage so you know how much metal you can still grip.
Then set your left-handed drill bit to reverse and let it work in reverse rotation, because that counterclockwise bite can pull the broken screw out instead of tightening it.
If the screw looks badly stripped or snapped off flush, a steady hand and a little oil can make the job go a lot smoother.
Assess Screw Damage
Start by looking closely at the broken screw so you know exactly what you’re dealing with.
A careful visual inspection helps you spot a cracked head, bent shaft, or buried threads.
Next, check whether the screw sits proud of the surface or flush with it, because that changes your next move.
Then do a quick torque assessment by testing how much force it seemed to take before it failed.
If the metal looks soft, stripped, or twisted, you’ll know the fastener is already weak.
You’re not guessing here; you’re reading the damage like a teammate would.
That small check keeps you calm and ready, and it helps you choose a cleaner, safer way to get the screw out.
Drill In Reverse
Now spin the drill in reverse and let the bit do the hard work for you. You’re not fighting the screw; you’re asking it to back out.
Set your drill to reverse spinning, then press the left handed bit into the broken screw with steady, light pressure. The backward motion creates backwards torque, and that bite often starts the fastener moving.
Stay calm if it hesitates. A drop of oil can help, and a smaller bit may grip better without chewing the threads.
As the bit catches, keep your hands steady and let the screw climb out on its own. You’ve got this, and the process feels easier when you trust the tool.
Remove Seized Fasteners
Seized fasteners can feel like they’ve made a personal choice to stay put, but a left-handed drill bit gives you a smart way to fight back.
You’re not alone when thread locker, rust, or galvanic corrosion locks parts together. Set your drill to reverse, choose a bit just smaller than the fastener, and let the cutting edges work slowly.
As the bit bites, it can loosen the grip and back the fastener out while it cuts. Stay steady, because rushing can make the job harder.
If the fastener starts to move, keep light pressure and let the tool do the work. That simple reverse action helps you remove seized screws, bolts, and studs with less frustration and more confidence.
Fix Common Reverse Extraction Problems
When reverse extraction stalls, don’t let the drill bit boss you around. You can fix most snags with a calm check.
First, clear chips so the bit can bite. Then, use steady pressure, not a hard shove, because a skewed bit can skate and chew the hole.
If the fastener feels glued in, warm the area a little and break the thread locker bond. Next, confirm your drill stays in reverse and your bit matches the hole.
Worn edges slow you down, so swap them out if they quit cutting. Always wear safety gear, since metal flakes jump fast.
With a little patience, you and your crew can keep the job moving and pull stubborn fasteners free without turning the repair into a headache.
Keep Left Handed Drill Bits on Hand
A stalled extraction job can go from annoying to smooth fast if you’ve got the right bit close at hand. Keep a left handed drill bit set in your storage solutions, so you’re not hunting through drawers when a bolt snaps or a screw strips. You’ll move faster, and you’ll feel calmer because the fix is already within reach.
Tuck one small set into your emergency kit, along with cutting oil and a drill that can run in reverse. Then label the case by size, so you grab the right bit without guesswork.
When trouble shows up, you’re ready to act with your crew, not scramble alone. That little bit of planning saves time, protects threads, and makes tough repair days feel a lot less lonely.
Frequently Asked Questions
Can Left Handed Drill Bits Work on Hardened Steel?
Yes, they can, but performance on hardened steel depends on the bit’s cobalt content, edge quality, and the steel’s hardness. Use a cobalt left handed bit, drill in reverse with steady pressure, and apply cutting oil to improve your chances of removing a stubborn fastener.
Do I Need a Special Drill for Reverse Extraction?
No, you do not need a special drill, but you do need reverse rotation and cordless compatibility if you are using battery powered tools. Many standard drills work, so you can get the job done with confidence.
How Do I Know When to Switch to an Extractor?
Switch to an extractor when the bit is worn, no longer bites, or the pilot hole is the correct size and the fastener still has not moved. This can help protect the threads. First, try reversing the drill, since that alone often backs the fastener out.
Can Left Handed Bits Remove Rusted Fasteners Without Heat?
Yes, you can often remove rusted fasteners without heat using left handed bits. Apply a penetrating lubricant, set the drill to reverse, and let the bit cut slowly so it can catch and back the fastener out.
Are Left Handed Drill Bits Reusable After Extraction?
Yes, left handed drill bits can be reused if the cutting edges are still sharp and the shank remains straight. After extraction, clean off any metal chips or coating residue, inspect the tip for chips or dullness, and do not use a damaged bit on another broken fastener.