Like a surgeon tapping into a wall without waking the whole house, you can drill into stucco cleanly if you slow down and plan first. Start by marking the spot, checking for wires, and pressing painter’s tape over the mark so the bit won’t skate. Then use a carbide or masonry bit, keep the drill square, and begin with light pressure. After that, clear dust often, match the anchor to the backing, and handle tiny chips before they spread.
Gather the Right Stucco Tools
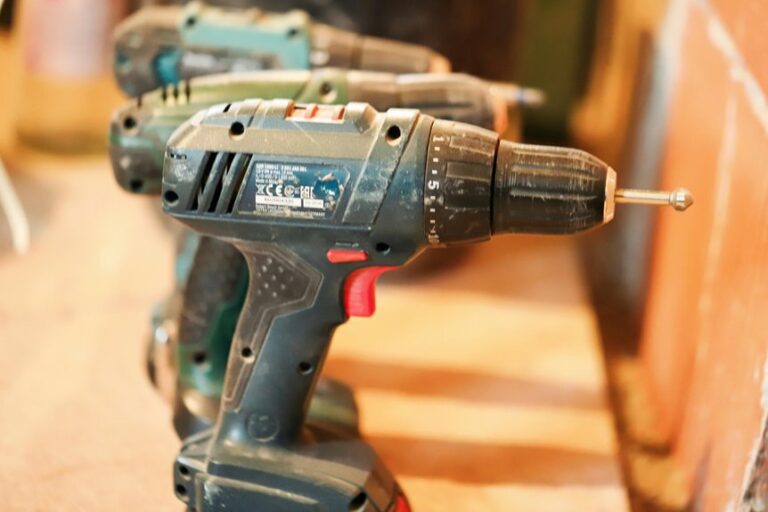
Before you make the first hole, gather the right stucco tools so the job feels calm instead of risky. You’ll want safety goggles, a carbide-tipped masonry bit, and a drill that matches the hole size. A standard drill can handle small jobs, but a hammer drill gives you more control on tough stucco. Keep a pencil, tape measure, and a small brush nearby so you can work neatly.
If you’re unsure about what’s hidden inside, use wire detection before you start. That extra step helps you feel prepared, not nervous. When your tools sit within reach, you move with confidence, and the wall stays safer too. You’re not doing this alone; you’re building a clean, careful setup that supports you.
Mark the Hole and Check Behind the Wall
Now that you’ve got the right drill and bit in hand, you can focus on the spot itself. Use a tape measure and pencil to mark the exact center, and trust that small mark. It helps you feel prepared instead of rushed.
Next, inspect wiring by checking outlets, fixtures, and any nearby runs that might hide behind the wall. If the area feels uncertain, use a detector or ask a pro.
Then measure insulation depth so you know what’s sitting behind the stucco and how far the wall cavity extends. You’re not being fussy; you’re protecting your home and your nerves.
When you take these checks seriously, you join the group of homeowners who drill with confidence, not crossed fingers.
Drill the Stucco Surface Carefully
Mark your drill spot again so you stay centered and avoid wandering into the wrong area.
Then use a masonry bit made for stucco or other hard surfaces, since a regular bit can slip and chip the finish. Start with light pressure and a slow speed, because that gives you better control and helps the surface stay intact.
Mark Drill Spot
A careful layout can save you from a cracked stucco wall and a lot of frustration. You belong to a group of careful DIYers when you slow down and mark the drill spot with intent.
First, measure alignment from nearby edges, trim, or hardware so your hole lands where you need it. Then add clear visual markers with a pencil or painter’s tape, since stucco can hide small details.
Next, step back and check the mark from a few angles. If it looks off, fix it now, not later. You can also make a tiny cross so your bit stays centered. This small habit helps you avoid slips, gives you confidence, and keeps the wall looking neat while you prepare for the next step.
Use Masonry Bit
Choose a carbide-tipped masonry bit for the first cut, because stucco is tough but it can still chip if you rush it.
You’ll get cleaner holes when the bit matches the job, and carbide durability helps it stay sharp on hard surfaces.
Keep the bit straight so it bites evenly, not sideways. A worn edge can wander and bruise the finish, so bit maintenance matters too. Wipe off dust often, and check the tip for dull spots before you keep going.
If the bit starts to drag, swap it out instead of forcing it. That small move protects the stucco and saves you stress.
With the right bit in your hand, you’re already on the safer side of the wall.
Start Slow Pressure
Once the bit touches the stucco, keep your hand calm and let it ease in instead of forcing it.
You want a slow entry, because stucco can crack fast when you rush.
Use gradual pressure, not a hard push, so the bit can bite without chipping the surface.
If you feel the drill jump, back off a little and let it settle.
That small pause helps you stay in control and keeps the hole neat.
- Start at low speed.
- Hold the drill steady.
- Let the bit do the work.
When you move with care, you protect the finish and feel more confident.
Your wall doesn’t need a fight, just a steady hand and a little patience.
Use the Right Bit, Speed, and Pressure
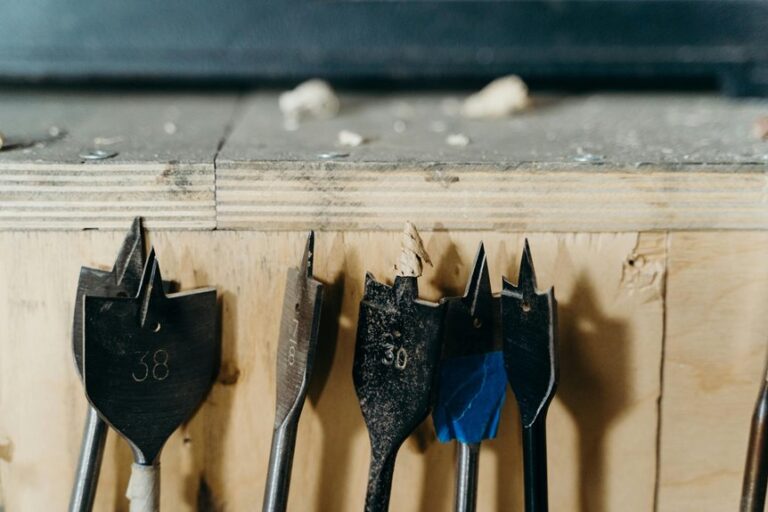
Pick a carbide-tipped masonry bit or a diamond-coated bit, since standard twist bits can slip, overheat, and chip stucco fast. Your bit selection matters because stucco is brittle, and the wrong tip can make a clean job feel like a mess. For speed control, stay in a low gear at first, then let the bit work at its own pace.
| Bit Type | Best Use | Benefit |
|---|---|---|
| Carbide-tipped | Small to medium holes | Strong cutting edge |
| Diamond-coated | Hard, dense stucco | Smooth drilling |
| Masonry labeled | General stucco work | Better grip |
Apply steady pressure, not force. You want the bit to bite, not bully the wall. If the drill starts wandering, ease up and reset. With the right bit, speed, and touch, you fit in with the work and protect the finish.
Clean the Hole and Set the Anchor
After you drill the hole, you need to clear out every bit of dust so the anchor can grip the stucco properly.
Make sure the anchor matches the hole size, because a loose fit won’t hold well and a tight fit can crack the surface.
Then press the anchor in gently, so it seats cleanly without forcing the material around it.
Remove Dust Thoroughly
Clearing the dust from the hole is the step that makes the anchor fit right and hold tight. You’ve already drilled carefully, so now give the hole a clean finish. Use vacuum extraction first to pull out loose grit, then tap in short bursts of compressed air to lift what the vacuum misses.
After that, try microfiber brushing to sweep the walls clean. If fine powder keeps clinging, that static cling is normal in stucco, so repeat the process until the hole looks bare.
- Check the hole with a light.
- Blow out dust in short bursts.
- Brush again if powder stays behind.
When you do this well, the anchor seats neatly and feels part of the wall. That small extra effort helps you feel confident, and you’re not working alone against the dust.
Match Anchor Size
Now comes the fit check, and it matters more than it looks. You want anchor compatibility to match the hole you just cleaned, because a sloppy match can weaken the hold and chip the stucco. Choose an anchor made for masonry and check its size against the drill bit. If the fit feels tight but not forced, you’re on track.
| Anchor size | What you want |
|---|---|
| Too small | Won’t grip well |
| Just right | Holds with solid load capacity |
| Too large | Can crack the hole |
Slide the anchor in by hand until it sits flush. If it resists, stop and reassess instead of muscling it. That small pause keeps your work neat and helps you feel like you’re doing this the right way, with the crew that gets it.
Seat Anchor Gently
Gently seat the anchor by first brushing out the hole so every bit of dust is gone, because even a little grit can keep it from sitting right. You want the anchor to feel like it belongs there, not forced in. Slide it in straight, then use gentle tightening so it starts to bite without crushing the stucco.
- Tap lightly until you feel compressive seating.
- Stop if the anchor tilts or spins.
- Keep pressure steady so the edge stays clean.
If the fit feels loose, pull it out and clear the hole again. A clean hole gives you a firmer hold and less stress on the surface. When you move slowly, you protect the finish and get a neat result that lasts.
Drill Stucco Over Different Backings
When you drill stucco over different backings, the wall underneath matters just as much as the stucco on top. You need backing inspection first, because substrate differences change how the bit bites and how the surface holds. A wood-framed wall feels different from block or brick, and EIFS can hide a softer layer. Use this quick guide:
| Backing | What you feel |
|---|---|
| Wood framing | Easier start |
| Cement block | Firm resistance |
| Brick | Dense, steady |
| EIFS | Hollow sound |
After you know the backing, choose your pace and bit with confidence. That small step helps you fit in with the folks who do the job right, not the ones who rush and hope for the best. Use steady pressure, keep the bit square, and let the wall tell you what it needs.
Repair Small Chips and Avoid Future Damage
A small chip doesn’t have to turn into a bigger headache. You can clean the spot, press in cosmetic patching compound, and smooth it so the repair blends with nearby stucco. If the chip exposed a crack, open it slightly with a putty knife, then fill and level it carefully. After that, keep water out with preventative sealing around the repair.
- Brush away dust before you patch.
- Match texture with a sponge or small trowel.
- Check the area after rain for new gaps.
When you work this way, you protect your wall and your peace of mind. You also help your home look cared for, which feels good every time you step outside. Small fixes now can save you from larger repairs later.
Frequently Asked Questions
How Do I Tell if My Stucco Is EIFS or Cement-Based?
Tap it: cement based stucco usually sounds solid and feels hard, while EIFS often sounds hollow and may flex slightly. Check the texture first, then remove a small sample if you still are unsure. This helps you protect your home and identify it with confidence.
Can I Drill Stucco Without a Hammer Drill?
Yes, you can drill stucco without a hammer drill if you use a battery drill and a carbide masonry bit, work at a slow speed, apply steady pressure, and stop before cracks appear so your stucco stays protected.
What Depth Should I Drill for a Stucco Anchor?
Drill to the depth specified by the anchor maker, usually the fastener length minus the stucco thickness. Make sure the anchor reaches solid framing or masonry, but do not drill so deep that you compromise the wall.
Should I Use Water While Drilling Stucco?
Yes, a small amount of water can help keep the drill bit cooler during drilling. Use only enough to lightly lubricate the area, not enough to soak the stucco, so both the bit and the wall stay protected.
When Should I Call a Professional for Stucco Drilling?
Call a professional if you are unsure about wiring, EIFS, cracks, or how deep the hole should be, or if warranty coverage is important. A contractor can help you achieve a clean result and reduce the risk of damage.