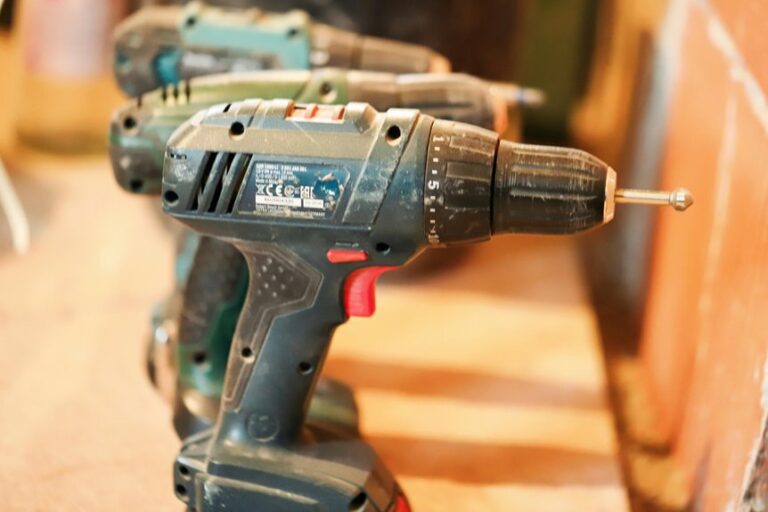
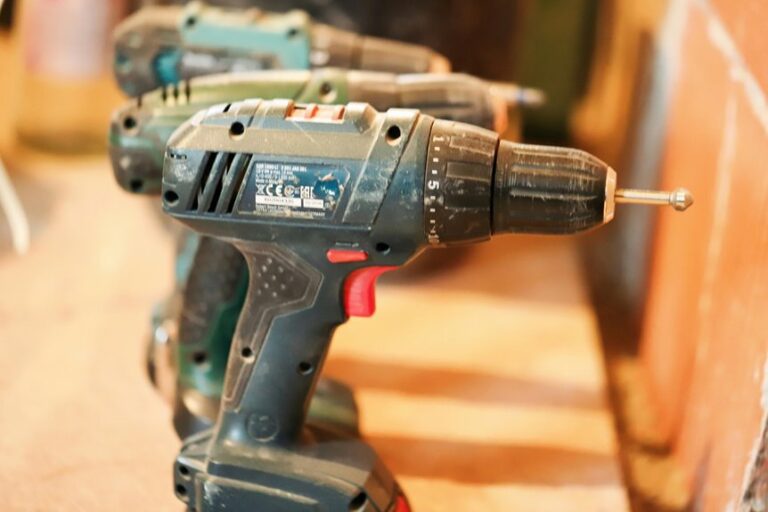
If you need to drill into tile without a crack, you can do it with the right bit, a steady hand, and a little patience. First, you match the bit to the tile, then you mark the spot and keep the tile firmly supported so it won’t shift under pressure. After that, you start slow, cool the bit often, and watch for chips before they spread. The small details matter here, and one of them can save the whole job.
Choose the Right Tile Drill Bit
Start with the bit, because the right one makes the whole job feel a lot less scary.
You’ll want a diamond-tipped bit for porcelain and a carbide-tipped masonry bit for ceramic, since each tile asks for a different touch. If you’re unsure, check the tile first, then match the bit to its hardness. Keep a spare close by in bit storage, so you’re not hunting mid-task.
Also, treat diamond maintenance like part of the job: rinse the tip, keep it cool, and stop if it looks worn. A sharp bit cuts cleaner, which helps you feel more in control and less like the tile is winning. When you choose well, you give yourself a smoother start and a lot less stress.
Mark the Hole and Start Slowly
Once you’ve picked the right bit, mark the hole with care and give the drill a gentle first pass.
You want a clean target, so measure twice and use clear visual guides like masking tape or a small pencil cross. That little X helps you stay steady and keeps the bit from skating across the glaze.
Hold the drill straight, then start at the slowest speed you can. Light pressure is enough at first. Let the bit scratch through the surface before you ask it to work harder.
If you rush, the tile may chip, and nobody wants that drama on a fresh wall. Stay calm, keep your hands steady, and let the tool do the work.
Support the Tile Before Drilling
Beneath the tile, a solid base can make all the difference, so it helps to support the surface before you drill. You want the tile to feel steady, not springy, because that small wobble can turn into a crack.
If the tile sits over a hollow spot, slip a backing board underneath when you can, or brace the area from behind. For loose sections, press gently with adhesive wedges to hold the edge in place and reduce flex.
Keep the tile fully supported around the drill point, too, so the pressure spreads out evenly. When the surface feels firm, you can work with more confidence and less stress. That calm setup helps you stay in control, and it makes the whole job feel a lot less nerve-wracking.
Drill Into Tile Without Cracking It
Hold the drill steady and let the bit do the work, because rushing is what usually cracks a tile.
You’ll feel more in control when you start with light pressure and a slow speed, then let the bit bite through the glaze.
Keep the drill square to the surface, and don’t force it if the tile resists.
A small piece of masking tape can help the bit stay put, and a little preventive sealant around the mark can reduce stress.
If the tile feels lively under your hand, use vibration damping with a folded cloth nearby for steadier contact.
Work patiently, and you’ll fit right into the group of folks who get clean holes without drama.
Keep the Bit Cool and Control Dust
As you drill, keep the bit cool with steady water and you’ll save yourself a lot of stress later. You also cut dust, which helps everyone in the room breathe easier and keeps your line of sight clear. Use a small spray bottle or water misting to wet the spot often, but don’t soak the area. That balance matters.
- Pause every few seconds and add a light mist.
- Wipe slurry away so the bit keeps cutting cleanly.
- Set up air filtration if you’re working indoors.
- Keep your face away from the plume and wear eye protection.
When you manage heat and dust together, the job feels calmer, cleaner, and more under control. That’s how you stay confident and keep the work looking sharp.
Drill Ceramic, Porcelain, and Stone Tile
You’ll get the cleanest hole when you match your method to the tile type, because ceramic, porcelain, and stone each react differently to drilling.
Ceramic is easier to cut, porcelain needs a slower hand and more patience, and stone can hide tiny cracks that make it more stubborn than it looks.
That’s why the right drill bit matters so much, since it helps you cut through the surface without turning a small job into a broken-tile headache.
Tile Type Differences
Ceramic, porcelain, and stone tile each ask for a different drilling touch, and getting that right can save you a lot of stress. You’ll feel more confident when you match your method to the tile composition and surface porosity, because each one reacts in its own way.
- Ceramic tile is softer, so it usually gives you a smoother start.
- Porcelain is denser, so you need extra patience and a steadier hand.
- Stone can hide tiny fissures, so you should treat it like a quiet risk.
- Glazed surfaces can look tough, but they still need gentle control.
When you understand these differences, you fit in with the people who drill clean holes the first time. That small bit of care helps you stay calm, avoid cracks, and keep the job moving.
Right Drill Bits
The right bit makes all the difference before the drill even starts. You’ll want carbide-tipped masonry bits for ceramic, and diamond bits for porcelain or stone, because each surface needs a stronger bite. For bigger holes, choose a carbide-grit hole saw so you don’t force the tool. Check bit coatings too; they help cut cooler and last longer.
Then match the bit to your drilling ergonomics, so your grip stays steady and your hand doesn’t fight the drill. That matters when you’re working on a tricky wall and want clean results. A fresh, sharp bit cuts the glaze, keeps heat down, and lowers the chance of slips. When you pick the right tool, you’re not just drilling, you’re joining the crew that gets it right.
Fix Chips and Small Drill Mistakes
Even careful drilling can leave a small chip or a tiny off-center mark, but that doesn’t mean the tile is ruined. You can handle chip repair with a calm hand and a little patience. If the mark is small, use color-matched filler or epoxy, then smooth it so it blends in. For error correction, lightly widen the hole only if you truly need a cleaner edge.
- Clean the spot first so dust won’t hide the damage.
- Fill the chip in thin layers, not one heavy blob.
- Let each layer dry before you touch it again.
- If the edge still looks rough, sand it very gently.
You’re not alone here, and most tiny mistakes can fade into the background with care and steady hands.
Install Anchors and Mount Hardware
Set the anchor with care, and you’ll turn a clean tile hole into a solid mount.
First, match anchor selection to the wall behind the tile. Use a plastic anchor for light items, and choose a toggle or sleeve anchor for heavier loads. Then slide it in gently until it sits flush.
Next, align your mounting hardware and hand-tighten the screw so the anchor grips without spinning. If the piece feels loose, stop and check the fit before you push farther.
You want support, not a tile rescue mission. After that, snug the hardware just enough to hold firm.
Finally, test the mount with a small pull. When it stays steady, you know your work belongs on that wall.
Frequently Asked Questions
How Do I Tell if My Tile Is Ceramic or Porcelain?
You can tell quickly: porcelain is usually denser, harder, and often has a smooth glazed finish, while ceramic tends to absorb more water. Tap it, inspect the edges, or test a hidden spot.
What RPM Should I Use for Different Tile Types?
Use low RPM for ceramic tiles, about 600 to 900 RPM, and for porcelain, about 400 to 600 RPM. Use diamond bits for porcelain, and drill slowly and steadily.
Can I Drill Into Grout Instead of the Tile Itself?
You should not drill into grout instead of tile. Grout can crack more easily, wear out faster, and let moisture seep in. For a cleaner and more durable result, drill the tile carefully with the right bit and proper support.
How Deep Should the Drill Hole Be for Anchors?
Drill the hole so the anchor sits fully with about 25 to 30 mm of extra depth in the substrate. Choose a screw long enough to match the anchor length, and the fixing will hold securely.
What Should I Do if I Hit Hidden Plumbing or Wiring?
Stop drilling right away. If you hit plumbing or wiring, turn off the power, shut off the water if needed, and call a licensed plumber or electrician before doing anything else. Acting quickly can help prevent flooding, shock, or further damage.