The day you need a clean hole in plexiglass often lands right when a cracked sheet would ruin everything, and that’s no coincidence. If you’ve ever watched acrylic split under a shaky bit, you know how frustrating that feels. The good news is you can avoid that mess with a few smart moves. From the right bit to the final touch, each step changes the result more than you might expect, and one of them matters more than most people think.
Choose the Best Drill Bit for Plexiglass
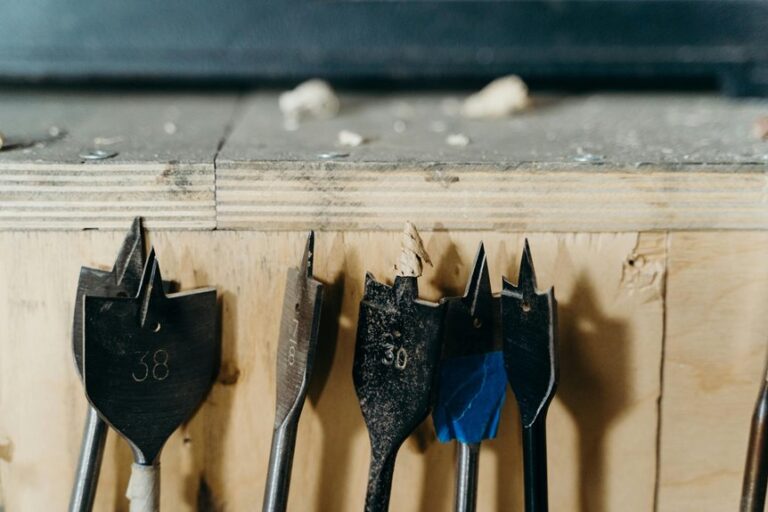
Start with the right drill bit, and the whole job gets a lot easier.
You’ll feel more in control when you choose a bit made for plastic, because acrylic specific bits cut at a safer angle and help stop cracks.
If you’re comparing options, bit comparisons usually put brad-point bits near the top for clean starts, while HSS bits can work when that’s what you have.
Specially ground twist bits also fit PLEXIGLAS well, especially when you match the bit to the sheet thickness and hole size.
Step drill bits shine when you want gradual widening without constant switching.
Mark and Clamp the Plexiglass Securely
Start by marking each hole clearly so your drill bit hits the exact spot without wandering.
Then clamp the plexiglass firmly to a flat, clean base so it stays steady and doesn’t shift when you drill. A secure setup gives you more control, and that means less stress, less cracking, and a much cleaner result.
Precise Hole Marking
Before you make a single hole, take a few careful moments to mark the plexiglass and lock it down the right way, because this step sets the tone for the whole job.
You can start with a laser layout so every mark lands where you want it. Then use a fine-tip marker or tape edge for a crisp target. If the spot is tiny, a center punch can make a small guide mark without forcing the sheet.
Next, check your measurements from both sides so you don’t chase a crooked hole later.
After that, keep the panel aligned on your work surface and make sure nothing shifts while you work.
When you mark with care, you give yourself a cleaner cut, less stress, and a lot more confidence.
Stable Clamp Placement
Now that your marks are set, the next job is to keep the plexiglass from moving even a little. Place it on a flat, clean wood base, then add base cushioning like scrap cardboard or thin felt so the sheet sits steady without stress. Choose clamp orientation so the jaws press the edges, not the marked area, and keep them snug, not crushing. You’re building a safe setup here, and that matters.
- Tighten one clamp first, then check for slide.
- Add the second clamp across from it for balance.
- Tap the sheet lightly and listen for any shift.
If it still wiggles, reset it before you drill. A steady sheet helps you feel in control, and that calm, shared confidence makes the job easier for everyone at the bench.
Drill Plexiglass at a Low Speed
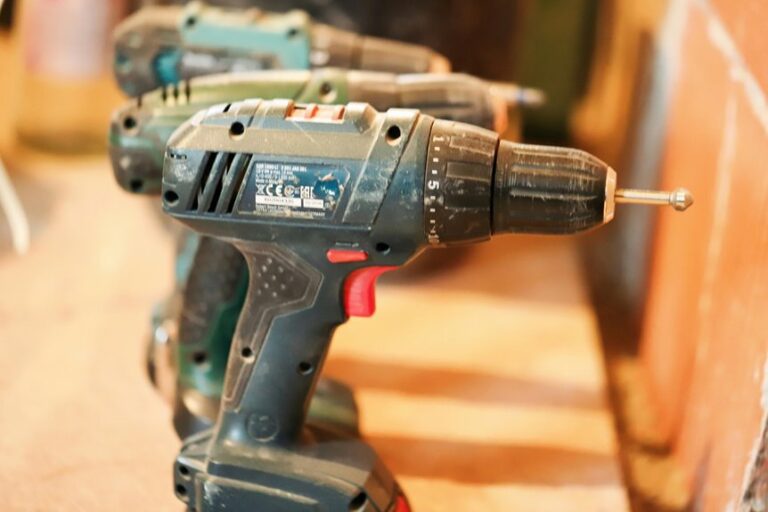
Keep the drill at a low to moderate speed when you work with plexiglass, because rushing here is where cracks love to show up. You’ll stay in control with low rpm, and that calm pace helps heat mitigation too.
When the bit spins too fast, it can melt the edge and leave rough chips that feel like a bad surprise. Instead, let the tool cut steadily so the hole forms cleanly. If you’re using a larger bit, slow it down even more, since bigger cuts build heat faster.
You’re not being fussy here; you’re protecting the sheet and your own effort. Watch for smooth shavings, and if they turn cloudy or crumbly, ease off and let the drill breathe.
Apply Light, Steady Pressure
Use gentle, even pressure so the bit can cut cleanly without forcing the plexiglass to fight back.
Keep your hand steady, because sudden pushes can make the bit bind and start a crack.
If the bit begins to grab, ease off right away and let it work at its own pace.
Gentle, Even Pressure
- Start with a soft touch so the bit bites cleanly.
- Keep the pressure steady so the sheet feels supported, not stressed.
- Ease up if you hear a sharp squeak, because that’s your cue to reset.
When you drill this way, you join the crowd of careful makers who get clean holes and fewer nerves. That small control helps you feel confident, and your plexiglass does too.
Avoid Bit Binding
Now that you’ve got a steady touch, the next job is to stop the bit from biting too hard and binding in the hole. You do that by easing up on the feed and letting the cut stay smooth. If you push, the bit can grab, heat up, and jam fast, which nobody wants.
Use bit lubrication to cut friction, and pause to clear chips before they pack in tight. A bit with spiral relief helps shavings lift out, so the hole stays open and calm. Keep your drill straight, then let the tool work at its own pace.
When you feel drag, back out a little, breathe, and go again. That small reset keeps you in control and helps the whole job feel safer.
Keep Plexiglass Cool While Drilling
Keeping plexiglass cool is one of the biggest keys to a clean drill job, because heat is what turns a careful project into a cracked, cloudy mess. You can stay in control with smart coolant methods and a little patience. Think of it like staying in the same crew: when you manage the heat, the whole cut feels smoother.
- Use a light water mist or a dab of dish soap mix on the bit to cut friction.
- Pause often and clear chips so they don’t trap heat.
- Watch the bit with thermal imaging if you have it, or simply feel for warmth and slow down fast.
If the plastic starts to smell hot, stop and cool it. That small break protects your work and keeps your hole looking sharp.
Support the Exit Side of the Plexiglass
A cool drill bit helps, but the back side of the plexiglass still needs support if you want a clean hole instead of a nasty chip-out.
Place scrap wood tightly under the sheet so the drill meets solid backing support as it breaks through. This steadies the panel, cuts vibration, and helps the edge stay neat.
If the piece is curved or awkward, clamp a flat board behind it so the whole area stays firm. You can also use exit cushioning, like thin cardboard or soft wood, when the surface needs a gentler touch.
Keep the stack snug, and don’t let gaps form under the hole. When the bit nears the back, that support gives you a calmer finish and a better chance of joining the group of makers with pride.
Finish the Hole Cleanly Without Chipping
As the drill bit starts to break through, ease off the pressure and let the tool do the last bit of work. You’re almost there, and that calm finish keeps your group of makers proud of the result. Keep the bit straight, then let the hole open slowly instead of punching through.
- Stop pushing hard when you see the back side rise.
- Let the scrap wood support the edge and catch the last fibers.
- Clear the shavings before they curl and tear.
Then deburr the opening with fine sandpaper or a countersink tool. That quick touch turns rough plastic into a polished edge and leaves a protective chamfer you can feel. If you hear scraping, slow down. Your hole should look clean, smooth, and ready to fit right in.
Frequently Asked Questions
Should I Remove the Masking Film Before Drilling Plexiglass?
No, leave the masking film on and drill through it. The film helps reduce scratches and keeps the plexiglass surface cleaner during drilling.
Can I Drill Plexiglass Without a Pilot Hole?
Yes, you can if you use step drilling and keep the drill speed low. Move through the plexiglass gradually so the bit widens the hole in stages, helping you avoid cracks and drill with control.
What Lubricant Works Best for Drilling Plexiglass?
Wax lubricant usually works well for drilling plexiglass because it lowers friction and heat. You can also apply cutting fluid lightly. Keeping the bit cool helps produce cleaner holes, reduces cracking, and creates smoother chips.
Do I Need to Clean the Drill Base Before Starting?
Yes, clean the drill base before you begin. A clean, level surface keeps the plexiglass steady, reduces dust buildup, and gives you better control while drilling.
When Should I Deburr a Plexiglass Hole?
Deburr the hole immediately after drilling and before unclamping the sheet. Clean up the cut edge to remove stress points and leave the plexiglass smooth and ready for hardware.