You can drill a hole in a ceramic pot without cracking it, but the trick is to slow everything down and give the pot a little respect. Start with the right diamond or tile bit, then mark the spot with tape so the drill won’t skate around like it’s late for work. Next, secure the pot, keep it wet, and use light pressure while the hole starts to form. Get these steps wrong, and tiny cracks can show up fast.
Choose the Right Ceramic Drill Bit
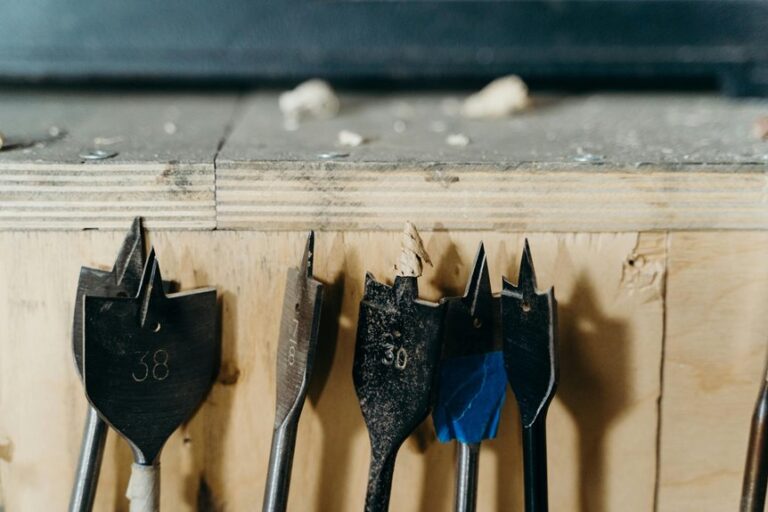
The right drill bit can save your ceramic pot from a sad, unnecessary crack, so this choice matters more than it first looks. You want a diamond-tipped bit for the cleanest cut, and a tile or glass bit can help on thinner pieces. Match the bit size to your hole, usually 5/8 inch or smaller, so you don’t stress the clay.
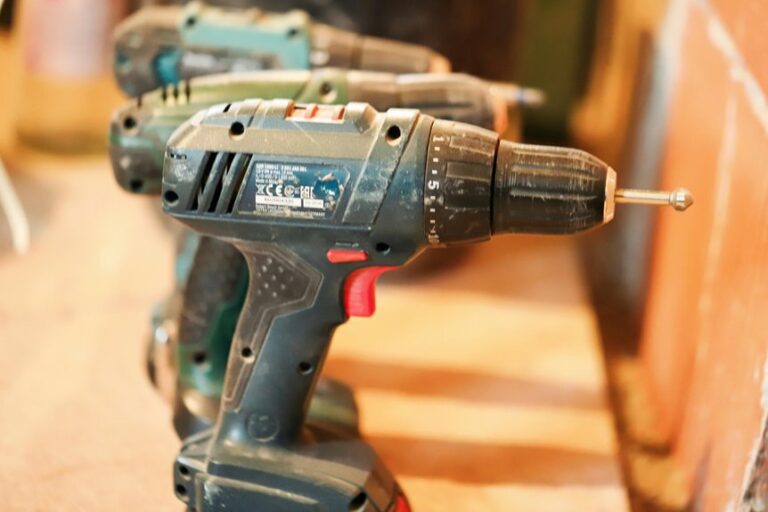
Good bit selection also means checking the shank fits your power drill well, because a loose fit can wobble and scrape the glaze. Then keep drill maintenance simple: wipe dust off the bit, inspect the tip for wear, and replace dull tools before they tug at the pot. When you start with the right bit, you give yourself a calmer, safer shot at success.
Mark the Drill Spot
Now that you’ve picked a bit that fits your pot, you need to mark the drilling spot with care so the tool lands exactly where you want it.
Start by finding the center placement on the base and use a pen or pencil for a small dot. Then check your visual alignment from a few angles, because a tiny shift can send the bit off target.
If the pot has a curve, hold it steady in your mind and choose the flattest area you can. You can also place a bit of tape over the mark to help the point stand out.
When you pause for a second and trust your eye, you set yourself up for a cleaner hole and a lot less stress.
Secure the Pot Safely
Set your pot on a non-slip pad so it stays steady while you work. If you need extra control, clamp it gently, but don’t overtighten or you could stress the ceramic.
A snug hold keeps the pot from shifting and helps you drill with confidence instead of crossing your fingers.
Stabilize With Non-Slip Pad
A steady pot starts with a steady base, so place your ceramic pot on a non-slip pad before you even touch the drill. You’ll feel more in control, and that calm helps you work like you belong in the process.
Pick a pad that grips well but doesn’t scratch the pot. Your material choice matters because soft rubber and textured mats hold best on smooth tables.
Check pad maintenance too, since dust or grit can weaken the hold fast. If the pad shifts, pause and reset it before drilling.
Then center your pot on the pad so it stays put while you mark and drill. This small step protects the glaze, eases your nerves, and keeps your setup steady from start to finish.
Clamp Without Overtightening
If your pot already feels steady on the non-slip pad, you can use a clamp to add extra security without squeezing the life out of it. Line the jaws with clamp padding, then place them at the pot’s widest safe area, not near the rim or base.
Tighten slowly and stop as soon as the pot stops shifting. You want firm contact, not a hard squeeze, because ceramic can crack fast under stress. If your clamp has a dial, follow the torque guidance and keep the setting low.
After that, test the pot with a gentle nudge. If it stays put, you’re ready to drill with more confidence, and your setup will feel calm, steady, and much less nerve-racking.
Use Painter’s Tape for Control
Painter’s tape gives you better control before you even start drilling, and that small step can save a pot from slipping, cracking, or turning into a frustrating mess.
You create a steadier start by covering the spot with two crossed strips. Their tape textures help the bit grip, while edge reinforcement keeps the glaze from chipping when the drill first bites. Mark your center on the tape, then press it down firmly so it hugs the curve of the base. If the bit wanders, add another layer for extra hold.
You’ll feel more confident, and that matters. With a clean target and a firm surface, you guide the drill instead of chasing it. That simple setup helps you work like you belong there, calm and ready.
Keep the Pot Wet
You can use a light water flow or a steady trickle, and that small stream helps cut heat before it builds up.
If the surface starts to dry, rewet it right away so you keep the drilling smooth and reduce crack risk.
Keep Surface Wet
Water is your best friend when you drill a ceramic pot, because it helps the bit stay cool and keeps the surface from getting stressed by heat. You can keep the spot damp with a small sponge or cloth, and that steady moisture supports surface cooling without flooding the pot.
As the bit spins, the water also gives you a gentle cushion, so the glaze doesn’t feel so much pressure. If the top starts to dry, pause and refresh it right away. That little habit works well with evaporative methods, since the water thins heat fast and lets you keep control.
You’re not fighting the pot alone here. You’re teaming up with it, and that makes the job feel calmer, safer, and far less crack-prone.
Use Light Water Flow
A light water flow can make the whole drilling job feel calmer and more controlled. You don’t need a flood; you just need steady drip cooling to keep the bit and ceramic from heating up. That gentle stream helps you stay in control, and it also supports water conservation.
- Aim a small trickle at the drill point.
- Let the water wash away dust as you work.
- Keep the surface damp, not soaked.
When you do this, you protect the glaze and lower stress on the pot. You’re not fighting dry friction, so the bit can cut with less chatter. If the water runs off, pause and adjust your setup so the drip lands where you need it. This small habit helps you feel more confident, and it keeps the whole process smoother.
Rewet During Drilling
If the pot starts to dry out while you drill, rewet the spot right away so the ceramic stays cool and steady. You’re not nagging the pot; you’re helping it stay calm.
| Wet sign | What you do | Why it helps |
|---|---|---|
| Dust turns pale | Add a few drops | Cuts heat fast |
| Bit squeals | Pause and mist again | Restores smooth drilling |
| Water beads vanish | Refresh your water reservoir | Keeps the surface safe |
Use short cooling intervals, then resume with light pressure. Keep a small cup nearby, and touch the bit with water often. That steady rhythm helps you feel in control, and it helps the pot trust your pace. If the glaze gets warm, stop for a breath, rewet, and start again. A damp hole is a friendly hole, and it’s less likely to crack under pressure.
Set the Best Drill Speed
Set your drill to a low speed first, because ceramic needs a gentle start more than raw power. You want steady control, not a race. The right drill rpm keeps the bit cutting cleanly and helps cut material vibration, so the pot feels calmer in your hands.
- Start slow and let the bit find its path.
- Raise speed only after the edge is set.
- Match speed to the bit, then watch for smooth chips.
When you hear a harsh squeal, ease back right away. If your drill has variable speed, use it. That simple habit helps you feel like part of a careful craft circle, where every clean hole earns a nod. You’re not forcing it; you’re guiding it. Keep the motion smooth, and the ceramic usually stays on your side.
Drill Slowly With Gentle Pressure
You want to keep the drill on low speed so the bit can bite without skittering across the glaze.
Then you should use light, steady pressure, because pushing hard can crack the pot faster than the hole can form.
If the bit starts to wander or squeal, ease up and let the tool do the work.
Low Speed Control
Drill slowly at first, because ceramic can crack fast when the bit spins too hard or the pressure jumps around. You’re not behind if you keep it calm; you’re being smart. Set your drill to low speed, and let torque management do the work instead of force. That steady pace gives you control and helps the bit stay centered.
- Hold the drill level.
- Let vibration dampening from the pot setup stay steady.
- Use drill guides if the bit wants to wander.
When you hear a harsh scrape, ease off and reset. A slower start gives you time to feel the surface, stay relaxed, and keep the hole clean. You’ve got this, and the pot will thank you with fewer tiny cracks.
Light Pressure Technique
Ease into the pot with gentle pressure, because ceramic rewards a soft touch. You want the bit to bite, not shove, so let your hand guide the drill with calm pressure modulation. Start with just enough force to keep the tip steady, then ease off as the hole forms.
That shift protects the glaze and keeps cracks from racing outward. As you work, watch the surface closely and listen for a smooth grind. Your tactile feedback matters here; if the bit skips, squeals, or feels hot, lighten up right away.
Keep your wrists relaxed, breathe, and let the tool do the work. With patience, you’ll drill a clean opening and feel like you belong in the circle of careful makers.
Avoid Cracking the Ceramic
Cracking usually starts before the hole even forms, so a calm setup matters more than speed. You can keep the pot safer when you respect the ceramic, the glaze, and the bit. Thermal shock happens when heat builds too fast, so use water often and pause if the spot feels warm. Glaze compatibility matters too, because slick finishes need extra grip from tape.
- Mark the center and cover it with painter’s tape.
- Hold the drill steady and start with gentle pressure.
- Lift the bit often so dust and heat don’t stack up.
When you work this way, you join the careful crowd that gets clean results without drama. Smooth pressure and patience help the pot stay whole while the hole grows.
What If the Pot Starts to Crack?
If the pot starts to crack, stop right away and give it a quick look before you do anything else. You’re not alone here; this happens to careful people too. Check the line, then decide what matters most. Use this guide:
| Crack size | What you do | Best next step |
|---|---|---|
| Hairline | Pause and dry the pot | Try again later |
| Spreading | Stop drilling now | Replace pot |
| Chipped edge | Ease pressure | Rotate and reassess |
| Deep split | Do not continue | Seek professional repair |
| Multiple cracks | Set tools down | Replace pot |
If you see movement, noise, or dust, back off. A tiny crack can travel fast, and your pot deserves respect. When in doubt, choose safety over pride. That choice keeps you in the club of smart growers.
Stop Before You Reach the Bottom
As you get close to the bottom of the pot, slow down and treat that last inch like the most delicate part of the job. You’re not trying to blast through it. You’re guiding the bit with care, and that keeps your pot in the club, not the crack pile. Watch the drill depth closely, because material thickness can change how fast the bit breaks through.
- Ease up on pressure as soon as you see light dust.
- Keep the bit wet so heat stays low.
- Stop the moment the hole opens, then lift straight out.
That last move matters because the bottom can split fast. If you stay calm, you protect the glaze and finish the hole cleanly. Your patience here makes the whole project feel doable, even if you’re new.
Smooth Sharp Edges
Once you’ve drilled the hole, you should smooth the sharp edge so it won’t chip or scratch your hands later.
A small file works well for knocking down rough spots, and sandpaper gives you a softer, cleaner finish.
If you notice tiny ceramic burrs around the opening, gently remove them now so your pot feels safe and neat.
File Hole Edges
Smooth the hole edges right after drilling so your ceramic pot feels safe to handle and looks finished, not jagged. You’ll help your pot feel like part of the set, not the odd one out. Use a small file or diamond burr, and keep your touch light.
Then follow this simple flow:
- Hold the pot steady and work only on rough spots.
- Use edge polishing in short passes, so you don’t chip the rim.
- Try a gentle bevel technique to soften the opening and make it friendlier to cords or roots.
You don’t need to grind hard. A few careful strokes do the job and keep the hole neat. If the edge feels smooth to your finger, you’ve done it right. That little fix makes the pot easier to use and much more welcoming.
Sand Paper Finish
The file may have taken down the roughest points, but sandpaper gives you that final, gentle touch that keeps the opening from feeling sharp in your hands.
You can start with fine grit selection, then move in small circles around the rim. Keep the paper slightly damp if dust bothers you, and let the ceramic set the pace.
This edge polishing step helps you make the hole feel finished, not rough or risky. You don’t need much force; light pressure works best and keeps the glaze from chipping.
If the edge still catches your skin, switch to a smoother grit and go once more. Soon, the opening feels calm, clean, and ready for use, so your pot feels cared for and complete.
Remove Ceramic Burrs
Grind away the sharp little burrs around the hole so your pot feels safe to handle and looks clean, too.
You’ve done the hard part, and now burr removal makes the finish feel complete. Use fine sandpaper, a diamond file, or a small rubbing stone, and keep your touch light.
- Hold the pot steady, then rub the rim in small circles.
- Wipe away dust, then check for rough spots with your fingertip.
- Repeat edge polishing until the opening feels smooth and even.
If the glaze chips a bit, don’t panic. A few gentle passes usually fix it.
You’re not just making a hole; you’re making a pot you’ll be proud to use and share.
Avoid Common Drilling Mistakes
If you want a clean hole in a ceramic pot, start by avoiding the small mistakes that cause big cracks. You’re not alone here. Tape the spot, mark the center, and keep the bit wet. Don’t press hard or drill too fast, because glaze reactions and thermal shock can split the base. Use this quick guide:
| Mistake | Better move |
|---|---|
| No tape | Add masking tape |
| Dry drilling | Use water |
| Hard pressure | Start light |
| Slipping bit | Use a guide |
Keep the pot steady on a flat surface, and let the bit do the work. If you feel heat, stop and cool it. Small, calm steps help you protect the pot and stay in the club of people who get clean results.
Add Drainage Holes for Plants
Clean holes are only half the job, because your plant still needs a way to shed extra water without sitting in a soggy pot. When you add drainage holes, you help roots breathe and stay strong. If you use a self watering setup, those holes still matter because they keep water from pooling too long.
A small pot usually needs one centered hole, while a larger pot may need more. Use a root barrier if you want soil to stay put while water moves out.
- Mark the base where water can escape.
- Space holes so runoff flows evenly.
- Match the hole size to your pot and plant.
That way, you give your plant a safer home and make care feel easier for you.
Clean and Test the Hole
A quick final check can save your pot from a bigger crack later. After drilling, brush away dust and rinse the base so you can see the opening clearly. Then do an edge inspection with your finger and a bright light. If you feel a rough chip, smooth it gently with fine sandpaper or a diamond file. You want the rim clean, even, and safe for roots.
Next, set the pot over a sink or tray and add a little water for leakage testing. Watch the hole closely. A steady drip is good, but water shouldn’t spread through hidden cracks. If you spot a hairline line, stop and set that pot aside. Small fixes now help your planter stay strong and ready for its plant family.
Frequently Asked Questions
Can I Drill Ceramic Pots Without a Power Drill?
Yes, you can drill ceramic pots without a power drill by using a hand drill or a heated puncture, though it takes patience. Go slowly and protect the pot to reduce the risk of cracking.
Is a Diamond Bit Necessary for Every Ceramic Pot?
No, you do not need a diamond bit for every ceramic pot. About one in three thin, unglazed pots can work with other bits. Tile bits or even nails may be suitable, depending on the pot’s strength and glaze.
How Many Drainage Holes Should a Large Pot Have?
You should usually drill three to five drainage holes in a large pot, spaced out across the base so water can escape evenly. This helps prevent soggy soil, supports healthier roots, and keeps the plant growing well.
Can I Use Nails or Screws Instead of a Drill?
Yes, you can use nails or screws for thin pots. Wrap the spot with tape, tap gently, and work slowly. Be careful with screws, since thick or glazed ceramic can crack easily.
Do Glazed Pots Crack More Easily Than Unglazed Ones?
Yes, glazed pots usually crack more easily than unglazed ones because the hard glaze changes how stress spreads. On glazed surfaces, the seal layer can make the pot less forgiving, so you may need extra tape, water, and gentle pressure.